Using Layer Comps
If you have only a few images to convert to Layer Comps, you don't have to use the Layer Comp panel or Variables. You can do it the old fashion way.
It is best to create images and layers in advance of creating the layer comps and that they be of the same size.
- Open Photoshop but don't create a file.
NOTE: A file will automatically be created for you in the next step. - Select File > Scripts > Load Files into Stack from the menu.
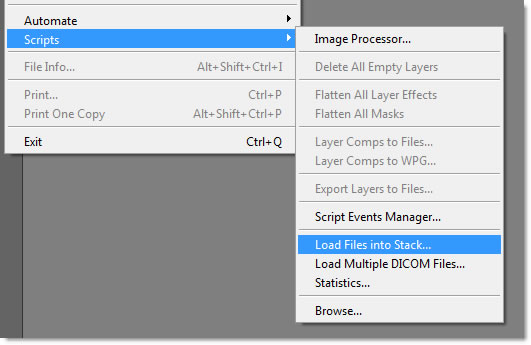
- In the Load Layers dialog box, select the Use Files from the dropdown menu, click the Browse... button to navigate to the folder where images are located and then select some or all of the images in the Open dialog box and then click OK.
NOTE: You should see the list in the Load Layers dialog box get populated with the images you choose.
NOTE: Using the Load Layers command has three advantages: - This is an easier way of insert multiple images than to open multiple files and dragging images into one of them.
- Autoumatically set the stage size based on the size of the images particularly when using images of the same size.
- Automatically name the layer (e.g., ann_taylor.jpg, bob_anderson.jpg, etc.)

NOTE: You can also choose one or both checkboxes: Attempt to Automatically Align Source Images or Create Smart Object After Loading Layers.
- Click OK to close the Load Layers dialog box.
NOTE: This will load all of the images into separate layers.

- Select the last layer and press CMD/CTRL + ALT and click on the Create New Layer icon. In the Name Layer dialog box, name the layer Background.
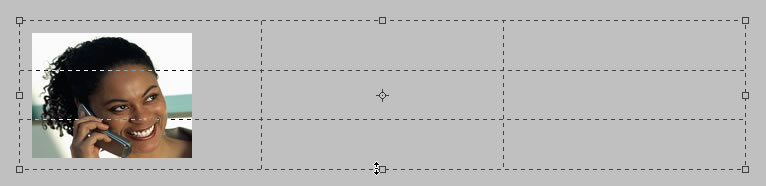
NOTE: Normally, a background layer is created automatically. However, because you did not open a file but ran a command a background layer was not created. Pressing CMD/CTRL + ALT has a dual role of not only creating a layer below the selected layer but also gives the opportunity to name the layer before it is created. - Select the crop tool and drag a crop selection around the whole background layer and then scale the crop selection LARGER then the canvas to approximately the size you need for your project.
- Double-click or press the ENTER key to commit the changes.
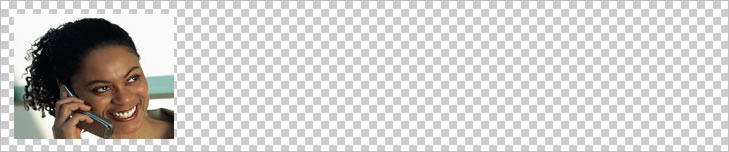
NOTE: Typically, the crop tool is used to "subtract" pixel from an image. However, if you make the crop selection larger then the canvas, you will "add" pixels. Also, since there were no default backgound, the background is transparent. - Add a solid, gradient or another image to the Background layer to your liking. In this case, a simply gradient was created.

- (Optional) Select all layers with images and place them in a group (folder) by selecting New Group from Layer... from the Layers panel flyout's menu and give the group a name (e.g., images).
Create STATIC text fields that will be used for all comps and align them to the left or right if needed.
TIP: If you don't think any of static text will need to be changed in the future then you can use one text layer instead of separate text layers. In our example, this is what we did in our example.

Create difference dynamic text fields that will be use for each individual comp
Name the layers accordingly (e.g., Ann_Ricoh, Bob_Anderson, etc.).
TIP: It is best to stack these layers in the REVERSE order that correspond to the image layers so that they will be easier to select later. Also, you can copy the static text field and modify it as needed. For example, we copy the static text field, left justified it, changed the text to black and then replaced the static text with real data (e.g, Name: with Ann Rico, Department: with Finance, etc.).
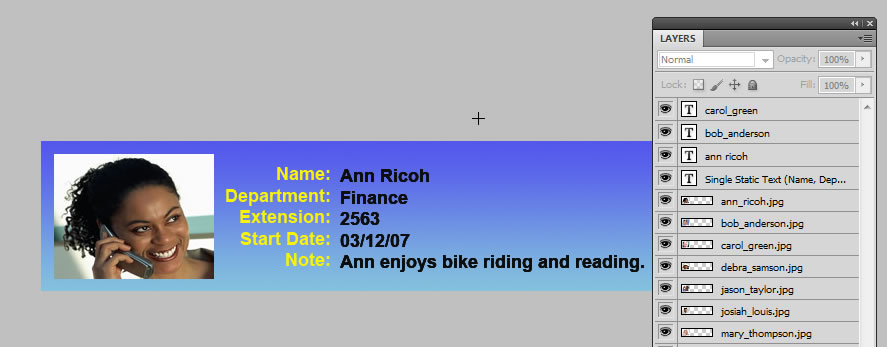
- Turn off all layers (eye icons) and then turn back on (visibility) just the layers you want on the FIRST layer comp. If an image on one of the layer is smaller than the canvas size, you can position it as well. Add layer styles, etc. as needed.
TIP: Press ALT/OPTION and click on the Background layer icon to turn off all layers except that layer then select the layers that correspond to the first comp (ones with eye icons). - Select File > Save As from the menu and save the file as an image (e.g, *.jpg, , *.png, *.gif).
- Repeat step 1 and 2 other images by selecting different layers.