Make a Selection from an Alpha Channel
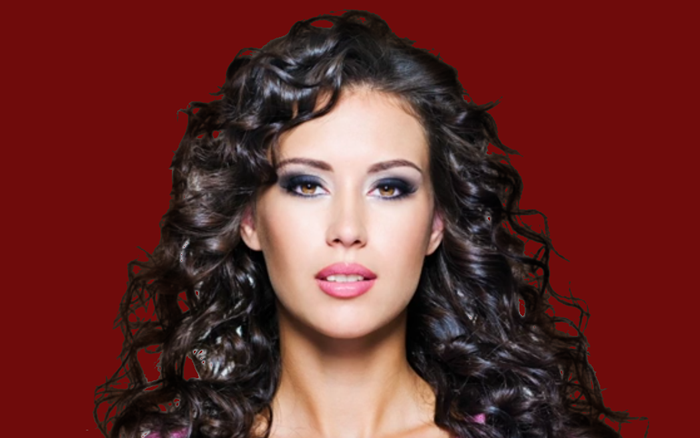
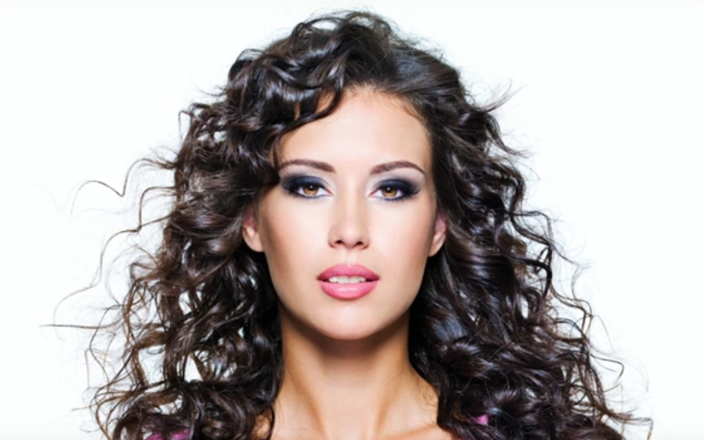
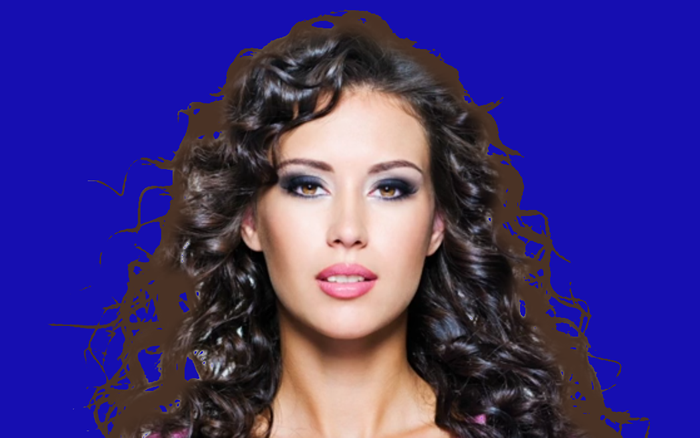
While there are many ways to create to create selections in Photoshop, there are times when you may want to use an Alpha Channel to create a selection. This is typically when you want to create a selection of a subject with "flying hair" or fur. In our example, we will extract a subject that is against a solid white background.
Create an Alpha Channel
First, create an Alpha Channel of the image that has the most contrast.
- Open a RGB image that has a subject (this could be a person, animal or object) against a background. In our case, we have a person. Optionally, make a duplicate copy (CTRL/CMD+J) as a backup in case you mess up the duplicate and turn it off.
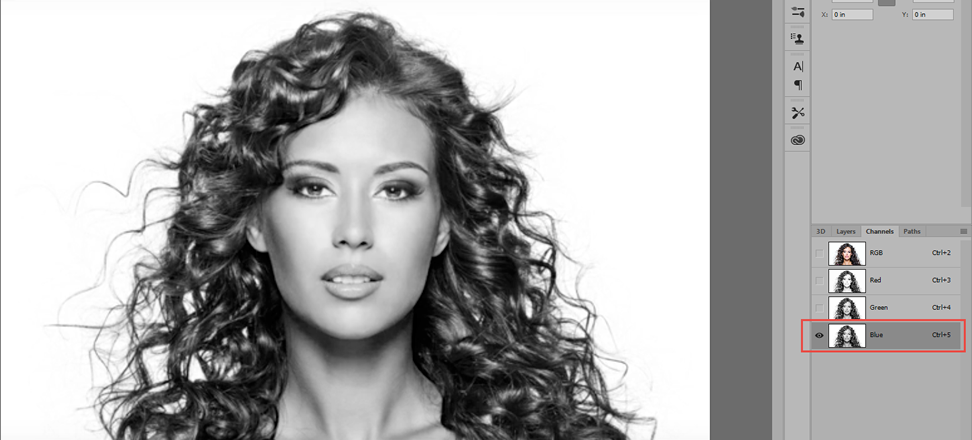
- Open the Channels panel, click each channel (Red, Green, or Blue) INDIVIDUALLY to determine which one has the MOST CONTRAST while hiding the others. In our case, it is the Blue channel.
NOTE: If the channel thumbnails are in color instead of grayscale, select Edit > Preferences > Interfaces... and deselect the "Show Channels in Color" checkbox.
NOTES:
- You only need to pay attention to the "edges" of the subject in question as the other areas will become white or black.
- If the background is white, then the subject needs to be the darkest gray color in the channel that you are selecting to choose the best contrast.
- White areas will be 100% selected and black areas will NOT be 100% selected. Gray will have some degree of transparency and as a result will need to be removed.
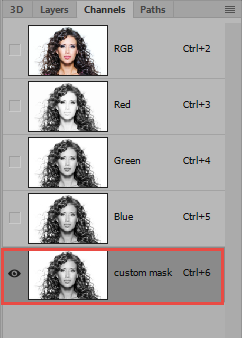
- Create a duplicate of the channel with with most contrast by dragging it to the Create New Channel icon at the bottom of the Channels panel. Optionally, give it a name (e.g., custom mask).
ALTERNATIVE: You can right-click the channel, select Duplicate Channel and in the dialog box that appears, give it a name, and then click the OK button.
Invert the Selection and Fill it with White/Black
To extract a subject from its background, you need to ensure that every pixel that represent the subject is completely white and every pixel that represent the background is completely black.
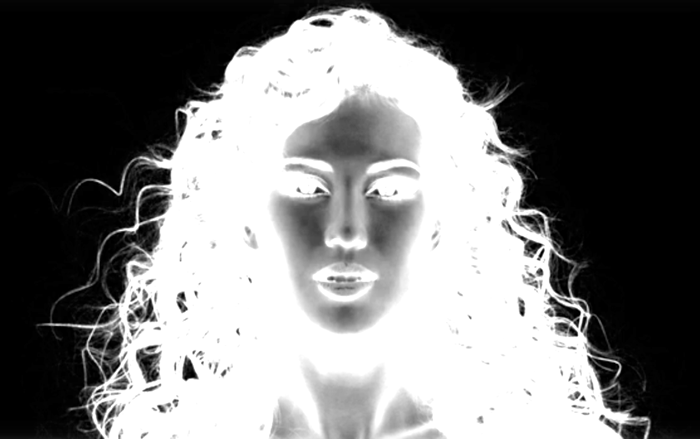
- First, select Image > Adjustments > Invert (CTRL/CMD+I) to invert the black and white pixels in the new channel.

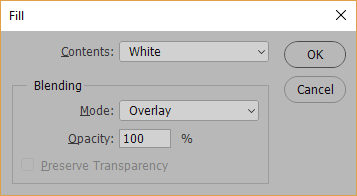
- Select Edit > Fill (SHIFT+F5 or SHIFT+Backspace/Delete), in the Fill dialog box select White from the Contents drop-down menu, change the Blending Mode from Normal to Overlay, ensure Opacity is set to 100%, and then click the OK button.
NOTE: This will fill any area you paint with later that is a light gray to white.
- Repeat this process, if necessary.
CAUTION: You do not want to do this process to many times as it will bleed into the black background area.
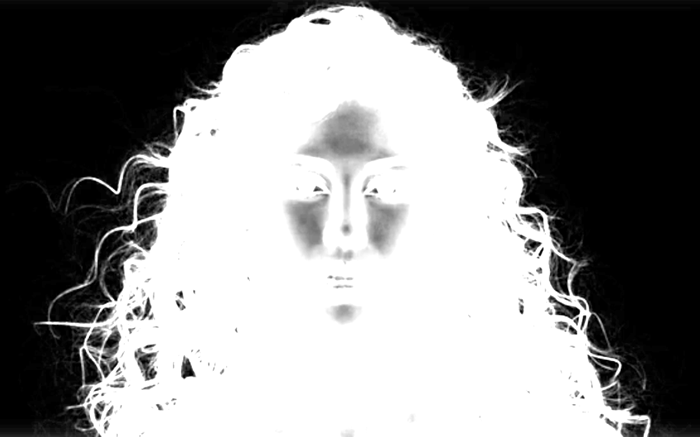
- Using a soft-edged brush, set the foreground to white, set the Mode to Overlap, and paint the remaining gray area to turn them into white pixels.
NOTE: As you paint, only the areas with gray will be affected because of the Overlap blend mode. If you paint in a pure black area without releasing the mouse the black pixels will not be affected.
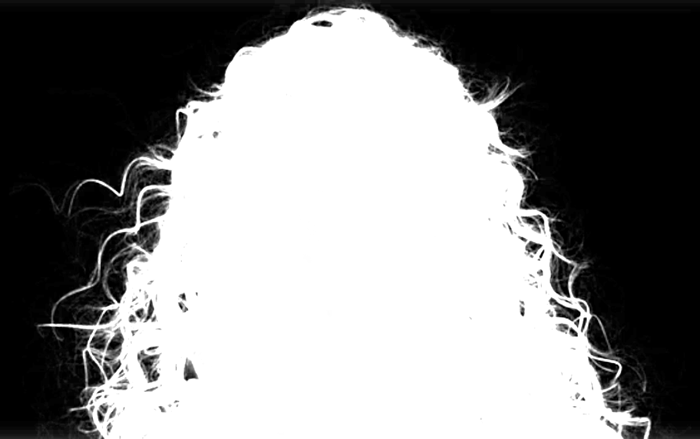
- Click the X key to switch to black as the foreground color, ensure the Mode is Overlay, and then paint along the edges to refine them.
NOTE: Notice, in this case, the black pixels are not affected.
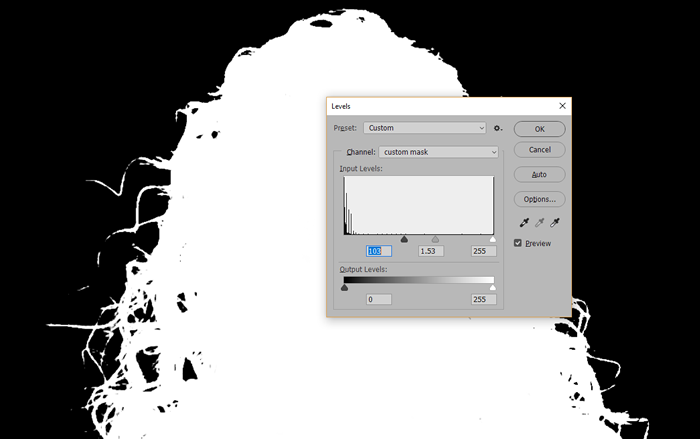
Use the Levels Tool
The Levels Tool can be used to further refine the Alpha Channel.
- While still on the desired channel in the Channels panel, select Image > Adjustments > Levels (CTRL/CMD+L) and pull in the black input marker slightly while previewing the result on the canvas. If the desired effect is usable, click the OK button, otherwise, click the Cancel button.
NOTE: This may bring in more image detail.
Load Alpha Channel as a Selection
- Use any one of the following techniques to load the Alpha Channel as a selection in the Channels panel:
- Hold down the CTRL key and click the Channel thumbnail.
- Select Select > Load Selection... from the menu and select the desired channel from the list.
- Click the Load Channel as Selection icon at the bottom of the Channels panel.
- Drag the channel to the Load Channel as a Selection icon.
- Switch to the Layers Panel and then click the Layer to release the Quick Mask.
Create a Layer Mask
- Click the Add Layer Mask icon at the bottom of the Layers panel.
ALTERNATIVE: Press CTRL/CMD+J to duplicate the selection to a new layer.
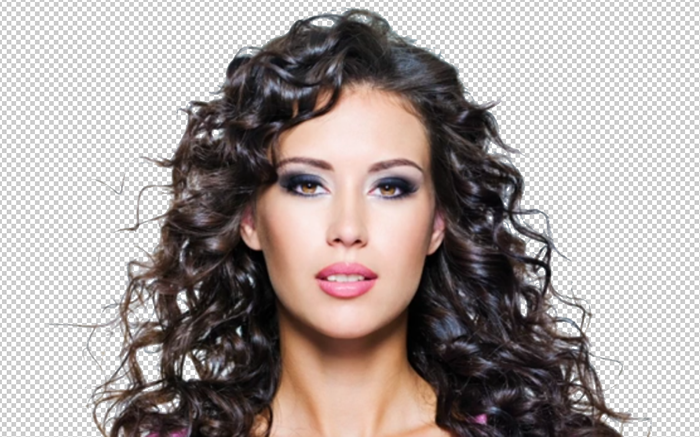
- CHECK POINT: Notice the image look great against a transparent background. However, when we add a background layer, you see that additional edits are needed.
Add a Background
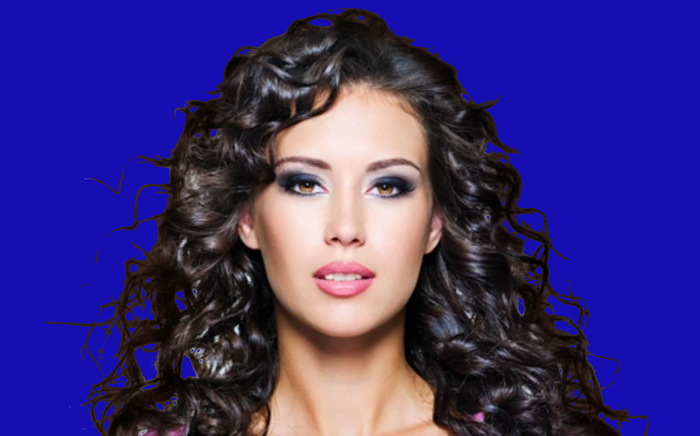
By adding a background especially a solid color background, you will be better able to see the "halo" that is around the image from the background that the image was cut out of.
- Create a new layer below the image with the transparent background, click the Create New Fill or Adjustment Layer icon at the bottom of the Layers panel, select Solid color effect and, then select a dark color.
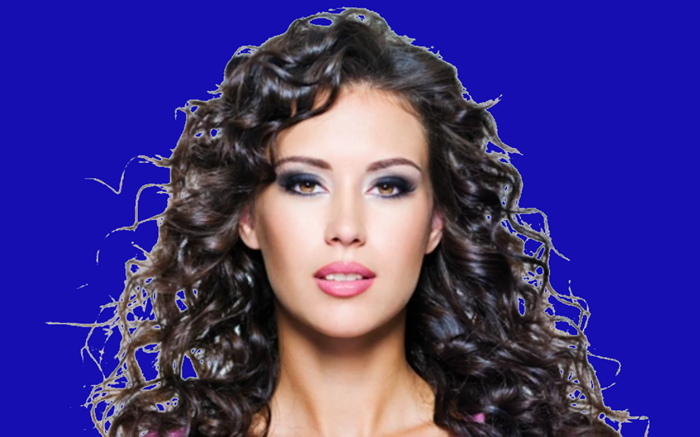
ALTERNATIVE: You could fill a new blank layer with a solid color (Edit > Fill, SHIFT+F5) and then press CTRL/CMD+U to open the Hue/Saturation dialog box and change the color later if you need to. - CHECKPOINT: You should see the "halo" better against a dark background. This will be resolved in the next section.
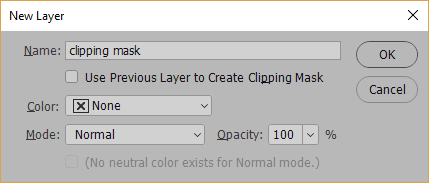
Use a Clipping Mask
You can remove the halo by creating a clipping mask and painting over it.
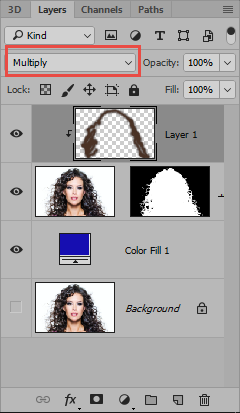
- With the image with the transparency layer selected, hold the ALT key and click the Add New Layer icon at the bottom of the Layers panel, give it a name (e.g.,, clipping mask) and then click the OK button to create a new layer. Then, right-click on that layer and select Create Clipping Mask or ALT click between the two layers.

- Use the Eyedropper Tool and select the darkest part of the subject that you want to paint with. In our case, we sample the model hair.
- Use the Brush Tool with Mode set to Normal, paint on the subject where you want to reduce the halo effect. In our case, the hair again.
- CHECK POINT: Change the Mode to Multiply in the Layers Panel (not in the Options panel). You should see the halo effect has disappeared.
- In our example, we used the Eraser tool to eraser disconnected hair or hair the did not rendered correctly.
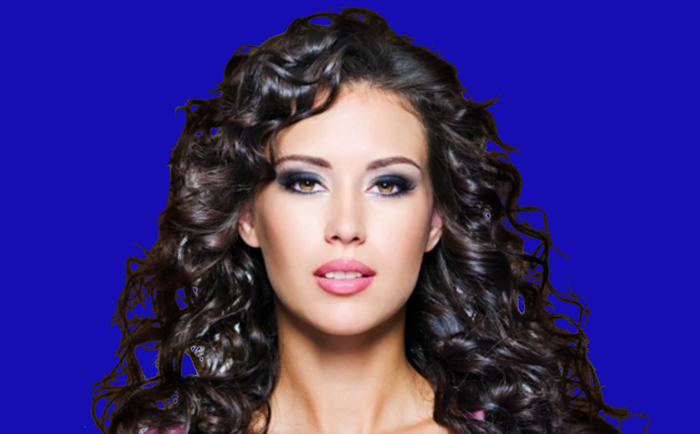
- Optionally, change the background color to see how it looks on another background. Repeat until you can the right background that you want..
ALTERNATIVE: You can add any background below the image.