Creating 2D to 3D: Serving Set
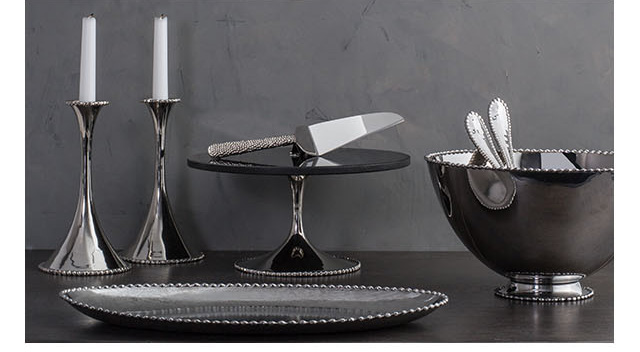
In this tutorial, we will show how to create multiple objects from a single shape.
We will create:
- Wine Glasses
- Punch Bowl
- Fruit Bowl
- Serving Tray
- Cake Holder
- Candle Holders
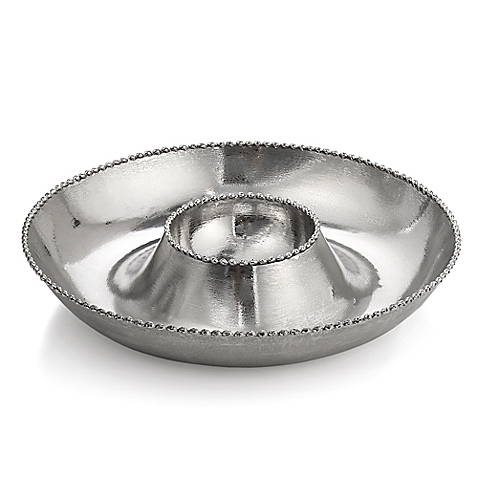
- Chip & Dip Tray
- Flower Vase
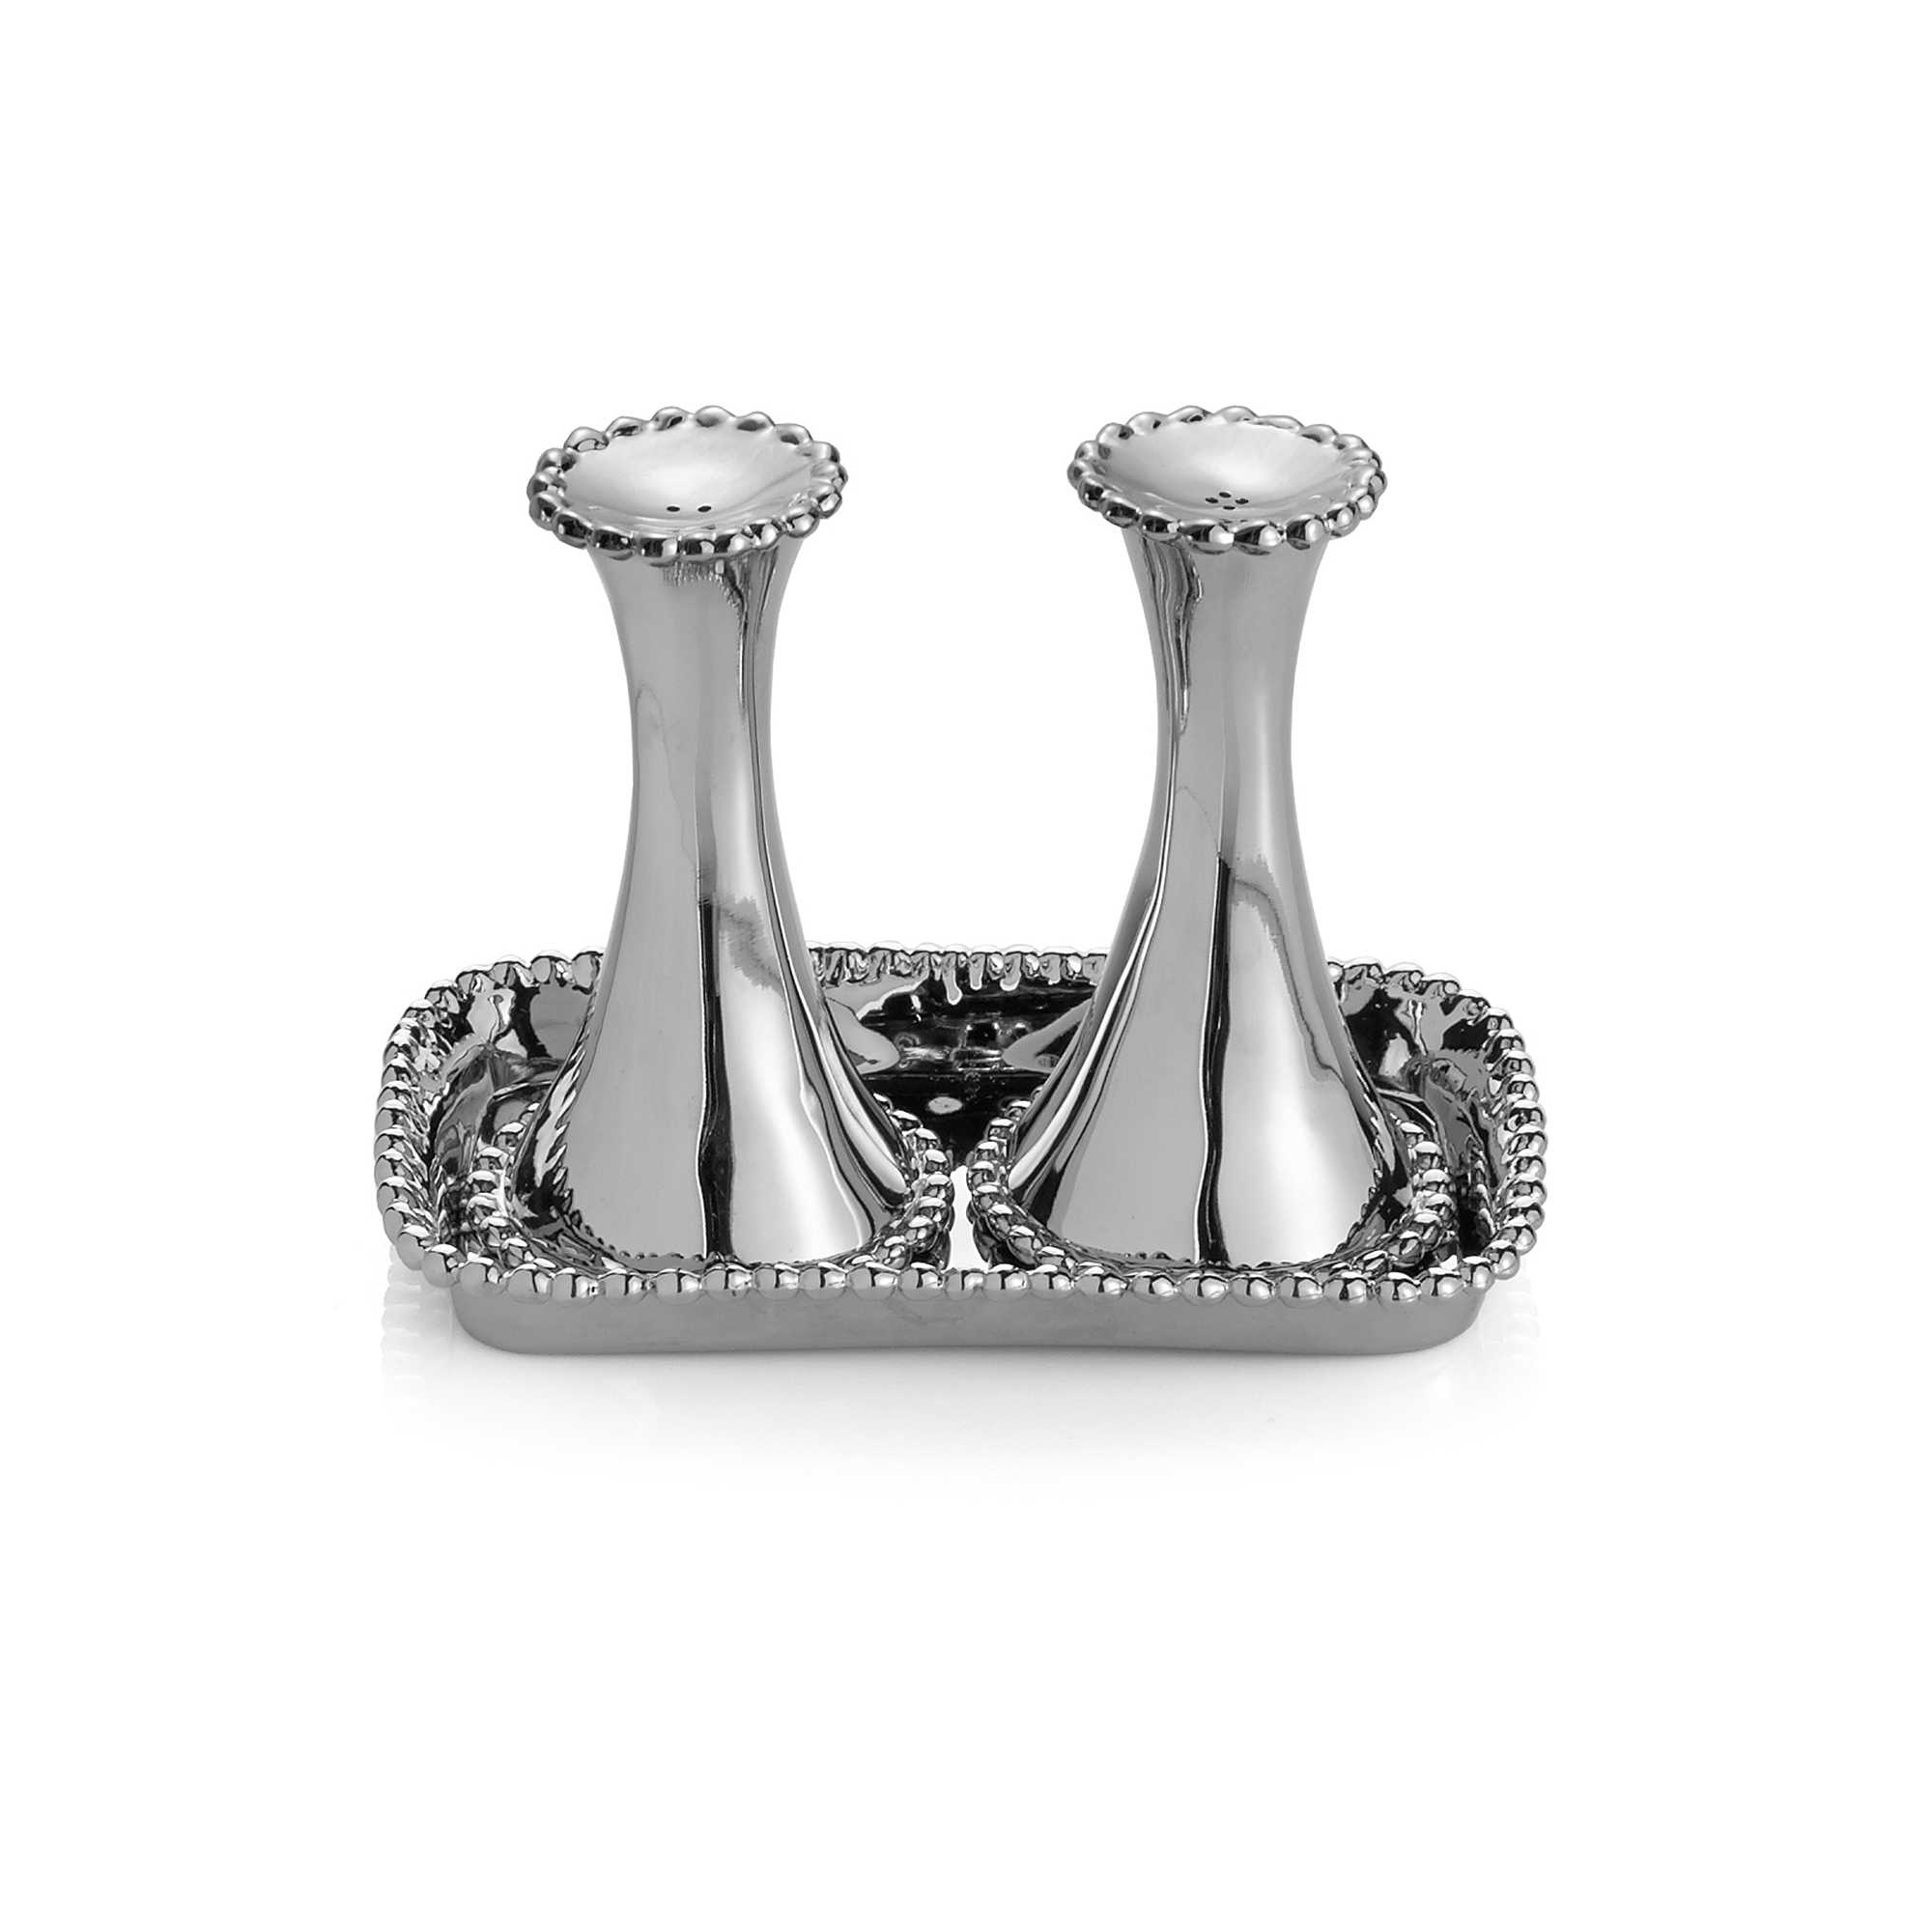
- Salt/Pepper Set
- Bonus (Bread, flower, candle, etc.)
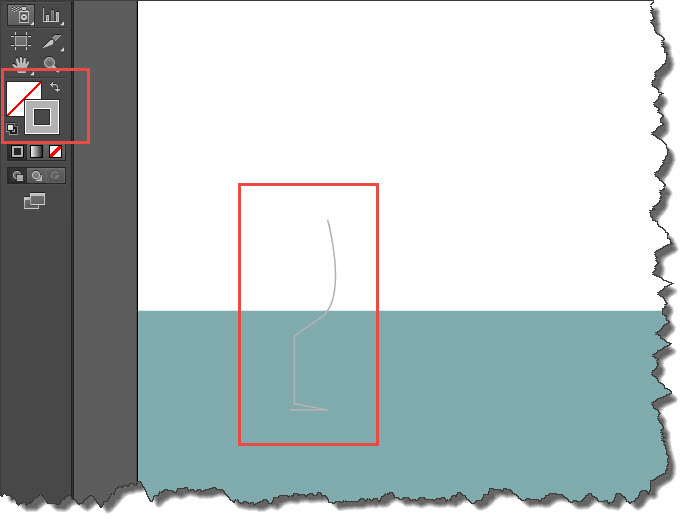
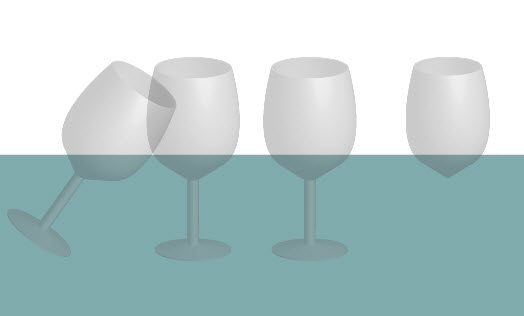
- (Optional) Create a rectangle with no border and a light fill color that covers a little over a third of the bottom of the artboard (See screen shot below). In the Layers panel, lock this rectangle so that you don't inadvertently move it later.
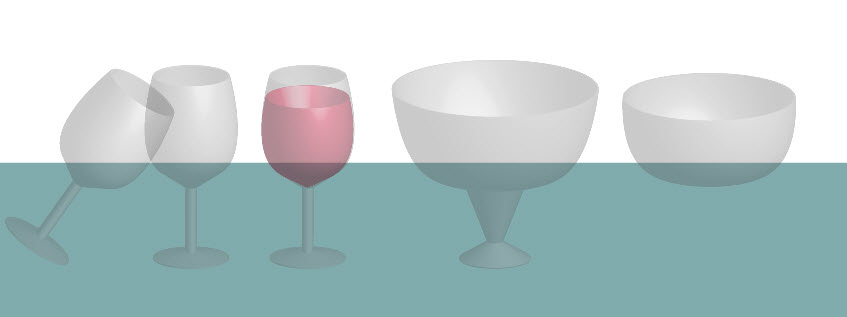
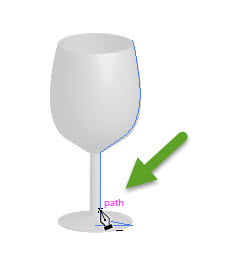
NOTE: This is only done so that you can see the transparency that will be added to objects later. - With the Fill color turned off and the Stroke color set to a light gray, use the Pen Tool to draw a profile of half of a wine glass.
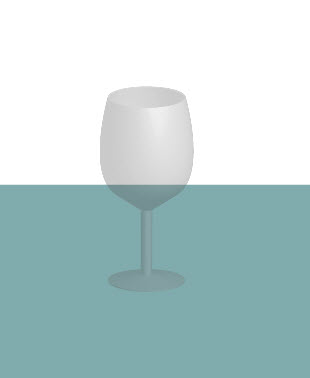
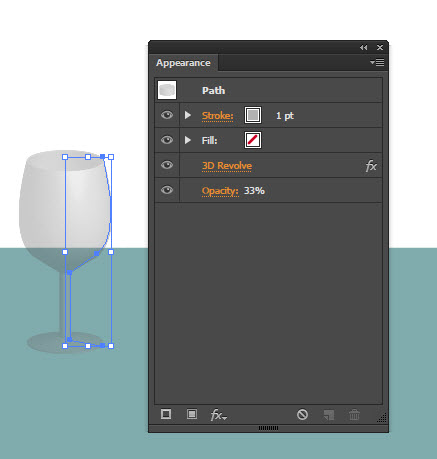
- From the menu, select Effect > 3D > Revolve.... In the dialog box that appears, select the Preview checkbox at the bottom, and then click the OK button to see the profile get rendered as a 3D wine glass. Then, In the Options panel, set the Opacity to about 33.
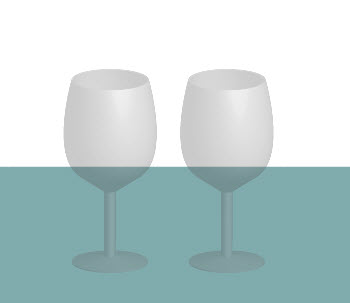
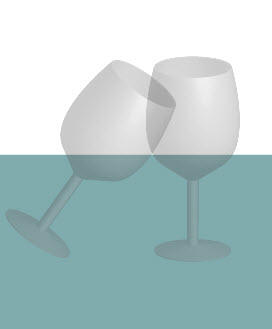
- While holding down the ALT/OPTION key, click the wine glass and drag out a duplicate copy of the glass to the LEFT of the original one.
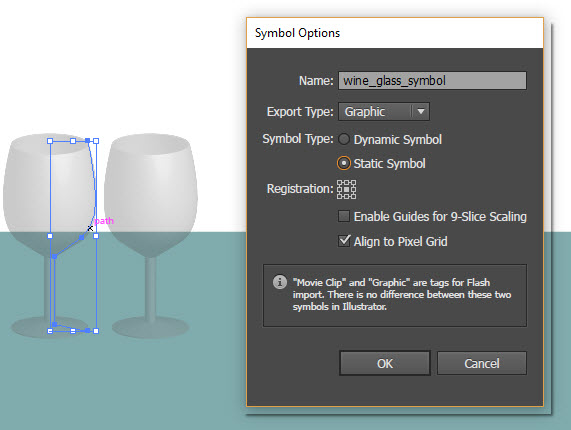
- Click the duplicated wine glass to select, press F8 and in the Symbol Options dialog box that appears, give it a name (e.g., wine_glass_symbol), change the Export Type to Graphic, the Symbol Type to Static Symbol and then click the OK button to convert the selection to a symbol.
ALTERNATIVELY: Instead of converting the selection to a symbol, with the wine glass selected, you could:
- Choose Windows > Appearance (SHIFT + F6) to open the Appearance Panel, and then click the 3D Revolve link
- In the dialog box that appears, click the Preview checkbox, use the 3D cube to rotate the wine glass to the desired angle while previewing it on the artboard and then click the OK button to commit the changes.
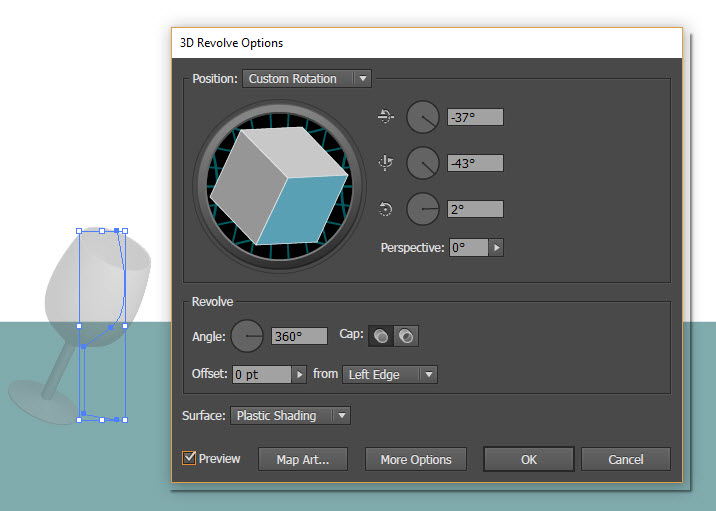
- Choose Windows > Appearance (SHIFT + F6) to open the Appearance Panel, and then click the 3D Revolve link
- Rotate the duplicated wine glass and then move it to lean against the original wine glass.
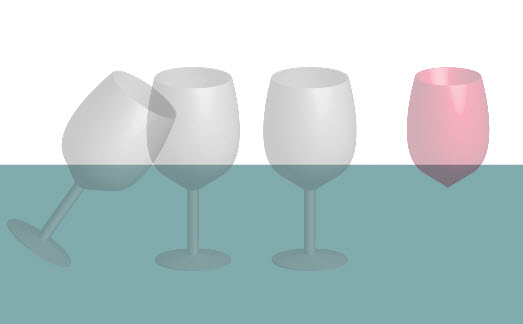
NOTE: The reason for converting the selection to a symbol earlier before rotating it was the fact that it would have created a totally different shape as will be seen later. - Again, while holding down the ALT/OPTION key and then the SHIFT key, click the original wine glass and drag out a duplicate copy of the glass to the RIGHT of the original one. Repeat this step again to create another wine class (A total of four).
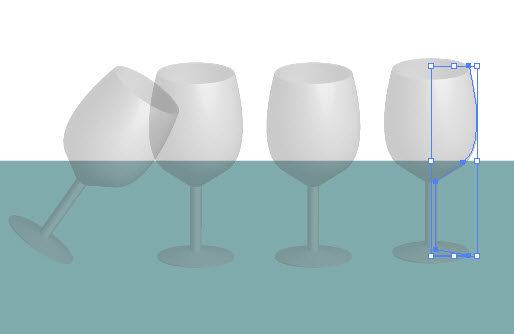
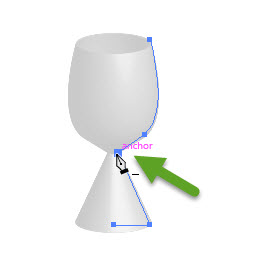
- With the fourth wine glass still selected, use the Direct Selection Tool (white arrow), hold down the SHIFT key, click the last three anchor points and then press the Delete key to delete them.
- With the half of wine glass still selected, change the stroke color to red Optional, swap the fill and stroke color by pressing the SHIFT + X keys.
- With the Selection Tool (black arrow)l, move the "wine" over the third wine glass and then scale it to make the height a little smaller. Then, use the Direct Selection Tool and modify the anchor point to match the contour of the wine glass.
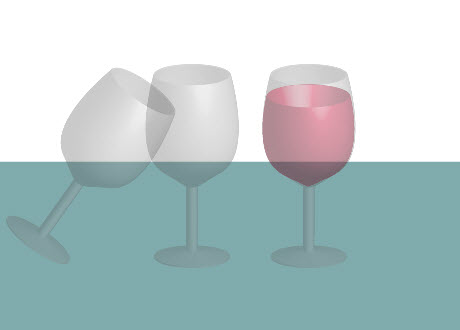
- Click the middle wine glass, hold down the ALT/OPTION key and then drag out another duplicate copy to the right of the wine glass with wine in it.
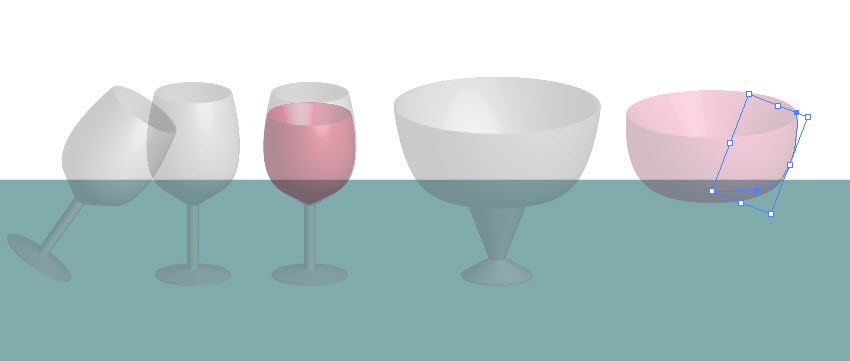
- Rotate the wine glass about -20 degree from the top-right edge to create a punch bowl.
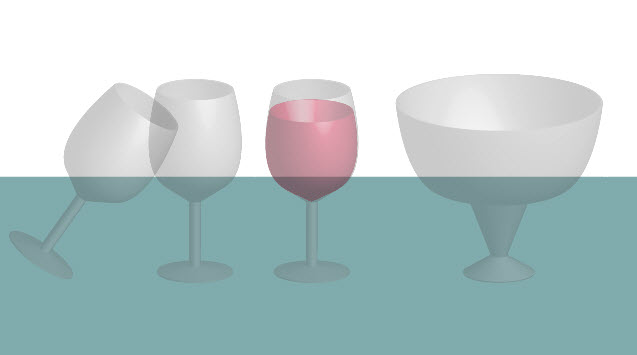
- Click the punch bowl, hold down the ALT/OPTION key and then drag out a duplicate copy to the right of it. Use the Direct Selection Tool (white arrow), hold down the SHIFT key, click the last three anchor points and then press the Delete key to delete them.
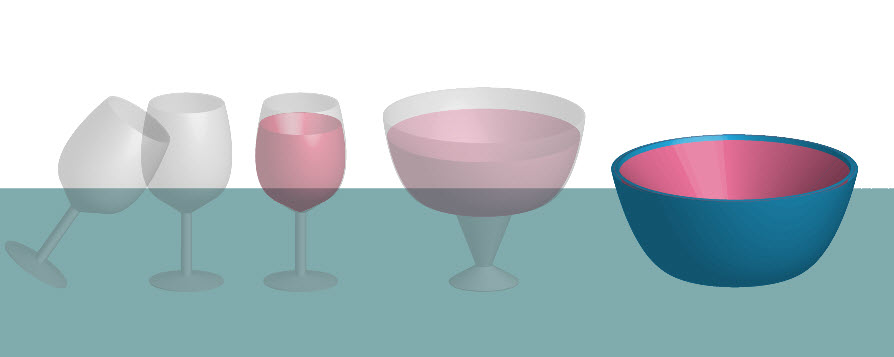
- With the "punch" still selected, change the stroke color to a light red Optional, swap the fill and stroke color by pressing the SHIFT + X keys.
- With the Selection Tool (black arrow)l, move the "punch" over the punch bowl and then scale it to make the height a little smaller. Then, use the Direct Selection Tool and modify the anchor point to match the contour of the punch bowl.

- Click the punch (not the punch bowl), hold down the ALT/OPTION key, and drag out a duplicate copy of the punch.

- In the Options panel, add a Stroke of 5 points and change the Opacity to 100 percent. Change the Fill color to you liking, adjust the height and width, and then move it to the same 3D level as the punch bowl and wine glasses.
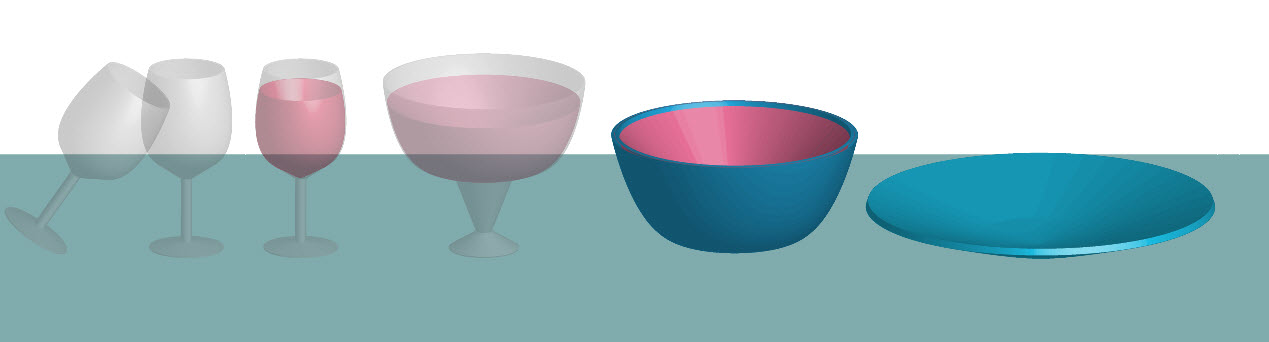
- Hold down the ALT/OPTION key and drag a duplicate copy of the fruit bowil to the right of it.
- With the Direct Selection Tool, move the top-right anchor downward (highlighted with red arrow below) to create a serving tray.

- Turn off the Fill color and change the Stroke color to your liking.
- Click the second wine glass, hold down the ALT/OPTION key and drag out a duplicate copy of the wine glass.
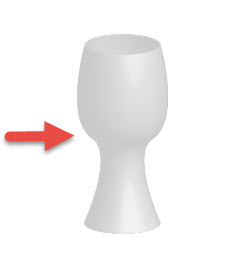
- With the Delete Anchor Point Tool delete the anchor at the base and middle of the wine glass on the right side to convert it to a flower vase. (See arrows below).
- Content for Accordion Panel 6
- Content for Accordion Panel 7
- Content for Accordion Panel 8
- Content for Accordion Panel 9