FAQ - FOUR VERSIONS
Resources:
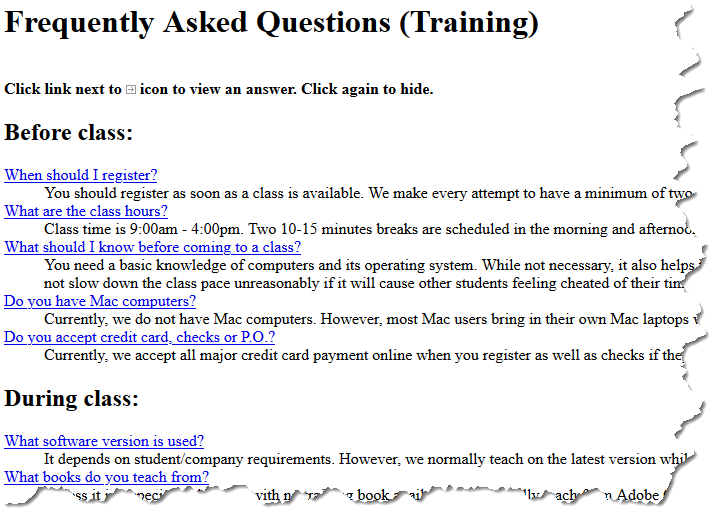
Version one of the FAQ Page does not actually use JavaScript. However, it is included in this list to show the various ways to create a FAQ page. This page was created using named anchors (bookmarks). See Other Linking Options for more details on how to create them.
- Download the buttons/images and FAQ_Beginner_Starter file into the same folder and then unzip them.
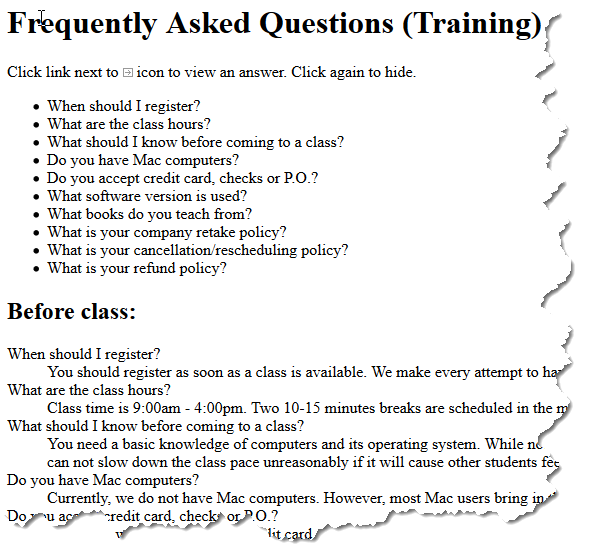
- Open the FAQ_Beginner_Starter.html file and review the current HTML content and then preview it in a browser.
- CHECK POINT: This file is somewhat boring. Let's "jazz" it up with some CSS goodness in the next step.
- In Dreamweaver, BELOW the title element, type link, press the Tab key, enter FAQ.css between the double quotes, select File > Save, and then preview the file in a browser.
NOTE: If you are not using Dreamweaver, just type the highlighted link below.
<title>FAQ_Beginner</title>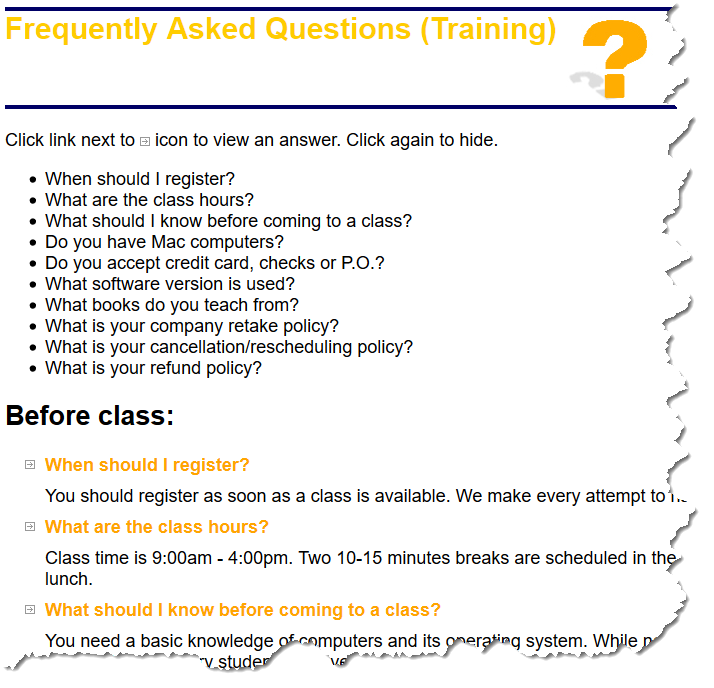
<link rel="stylesheet" href="FAQ_Beginner.css"> - CHECK POINT: Save the file and preview it in a browser. You should see the page looks a lot nicer with the CSS style sheet applied.
- ADD A LINK TO EACH QUESTION
In the Code View:
1. Select the first question between the first "li" tags in the bullet list (not at the bottom of the page)
2. Tress CMD/CTRL + T to open the Quick Tag Editor.
3. In the Wrap Editor that appears, type a href="#dd1" between the chevrons (<>) to create a link to a named bookmark that will be created later
4. Press the Enter/Return key.
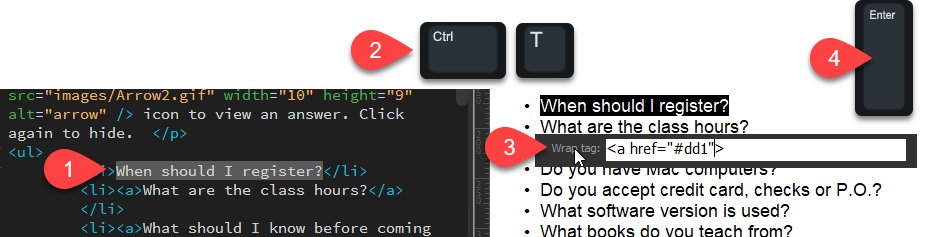
<li><a href="#dd1">When should I register?</a></li>
- Repeat the previous step for the other nine questions but change the "href" value to:
- #dd2
- #dd3
- #dd4
- #dd5
- #dd6
- #dd7
- #dd8
- #dd9
- #dd10
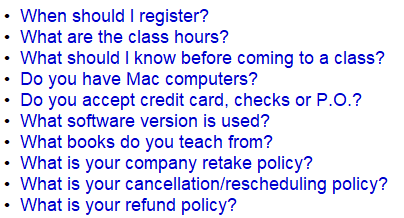
- CHECK POINT: The list of questions should be in blue because they are now links. There is no underline in the links because there is a CSS selector that was created in the CSS file that remove them (e.g., li a{ text-decoration: none;} ).
NOTE: Each question (link) now has a link to a bookmark that will be created next. - ADD A NAMED BOOKMARK ID TO EACH QUESTION
In the first "dt" element, add the following highlighted id:
<dt id="dd1">When should I register?</dt>
- Repeat the previous step for the other nine questions but change the "id" to:
- dd2
- dd3
- dd4
- dd5
- dd6
- dd7
- dd8
- dd9
- dd10
- CHECK POINT: Save the file and preview it in a browser. Click several questions in the bullet list to see how the page move to show the answers on the page within the view port. However, the FARTHER you go down the bullet list, the LESS the page moves UP. This will be resolved in the next step.
- In Design View, place cursor at bottom of page and press the ENTER/RETURN key repeatily unless you only see a white page with no text.
NOTE: This will add a series of blank paragraph elements that will be used to push the page farther up when a question is selected.
<p> </p>
<p> </p>
<p> </p>
<p> </p>
<p> </p>
<p> </p>
<p> </p>
<p> </p>
<p> </p>
<p> </p>
<p> </p>
<p> </p>
<p> </p>
<p> </p>
<p> </p>
<p> </p>
<p> </p>
<p> </p>
<p> </p>
<p> </p>
<p> </p>
<p> </p>
<p> </p>
</body> - Save the file and preview it in a browser. Click several questions again and you will see that the page move farther up the page to reveal the answer at the TOP of the page instead of somewhere in between.
- ADD NAMED BOOKMARKS TO GO TO TOP
It is common practice that if you create a long list of named bookmarks that you also provide an easy way to get back to the top of the page without having to scroll the page. This is what we will do in the next series of steps:
Add the following highlighted span element ABOVE the first h1 element.
<body>
NOTE: The id attribute could have been added to the h1 element instead; however, it already had an id attribute but you can only have one id attribute per element.
<span id="#top"></span>
<h1 id="myHeading"> Frequently Asked Questions (Training) </h1> - Add the following highlighted "a" and "img" elements BEFORE the closing "dd" tag (</dd>) with a blank space before it.
<dt id="dd1">When should I register?</dt>
NOTE: Notice the the "a" and "img" element are NESTED in the "dd" element.
<dd>You should register as soon as a class is available.
We make every attempt to have a minimum of two students
so you may be required to reschedule if the class does
not make. <a href="#top"><img src="images/top_Arrow.gif"
width="29" height="10" alt="top" /></a></dd>
- Repeat the previous step for the other nine "dd" elements.
- CHECK POINT: Save the file and preview it in a browser. Click the last question in the bullet list. Then, click the small top icon image (
 ) and you will see that the page navigate back to the top. Repeat for several of the other questions.

NOTE: While this approach is nice for small projects, version two will show how to create a more interactive version with little JavaScript code.
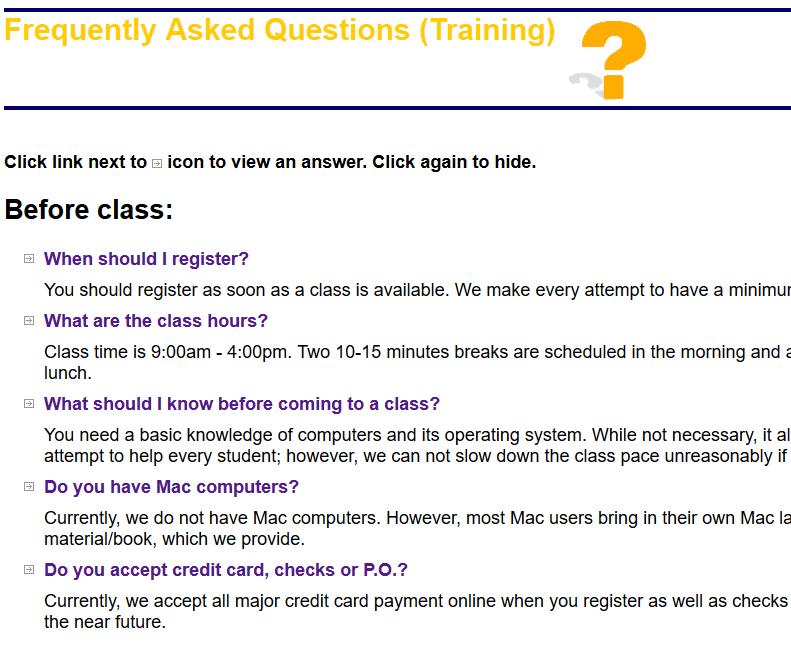
Version two of the FAQ Page uses a simply JavaScript to allow Q/A to be toggled.
Disadvantage of the FAQ_Beginner.html:
Because it uses named anchors instead of JavaScript, if you have many questions and answers, it makes for a long page to scroll through.
Advantage of this version:
It reduces the height of the page by HIDING the answers and allowing a user to only UNHIDE the answer or answers that is needed while still minimizing the page height.
- Download the buttons/images and FAQ_Intermediate_Starter file into the same folder and then unzip them.
- Open the FAQ_Intermediate_Starter.html file and review the current HTML content and then preview it in a browser.
- CHECK POINT: This file is somewhat boring. Let's "jazz" it up with some CSS goodness in the next step.
- In Dreamweaver, BELOW the title element, type link, press the Tab key, enter FAQ_Intermediate.css between the double quotes, select File > Save, and then preview the file in a browser.
NOTE: If you are not using Dreamweaver, just type the highlighted link below.
<title>FAQ_Intermediate</title>
<link rel="stylesheet" href="FAQ_Intermediate.css"> - CHECK POINT: Save the file and preview it in a browser. You should see the page looks a lot nicer with the CSS style sheet applied. It is similar to the FAQ_Beginner page but notice that the questions and answers are group together instead of being separated in two locations.
- Add the following CSS display:none; rule to the existing "dl dd" CSS selector:
dl dd {
	padding-top: 10px;
	padding-bottom: 10px;
	padding-left: 0px;
	padding-right: 0px;
	display: none;
} - CHECK POINT: Save the file and preview it in a browser. You should see that the display:none; CSS rule hid ALL of the answers because they are within "dd" elements.
- Add the following highlighted JavaScript with a set of script tag ABOVE the closing head tag (</head>).
<script>
NOTE: This is a simple JavaScript that will TOGGLE the visibility of the answers on or off when they are clicked. The toggleElement function is passed the id from the question that is clicked, assigned to a variable to ascertain its style property (block or none) and then the "if" statement is used to check the current state of that display property and then switch it to the opposite state.
function toggleElement(elementID)
{
var targetElement = document.getElementById(elementID).style;
if (targetElement.display == "block")
{
targetElement.display = "none";
}
else
{
targetElement.display = "block";
}
}
</script> </head> - CHECK POINT: For the sake of time, notice onclick handlers and ids have been added for you to all of the dt and dd elements. See one example below.
<dt><a href="#" onclick="toggleElement('dd1');">When should I register? </a></dt>
<dd id="dd1">You should register as soon as a class is available. We make every
attempt to have a minimum of two students so you may be required to reschedule
if the class does not make.</dd> - CHECK POINT: Save the file and preview it in a browser. Click on any question to see its answer displayed. If you click more than one they will remain opened.
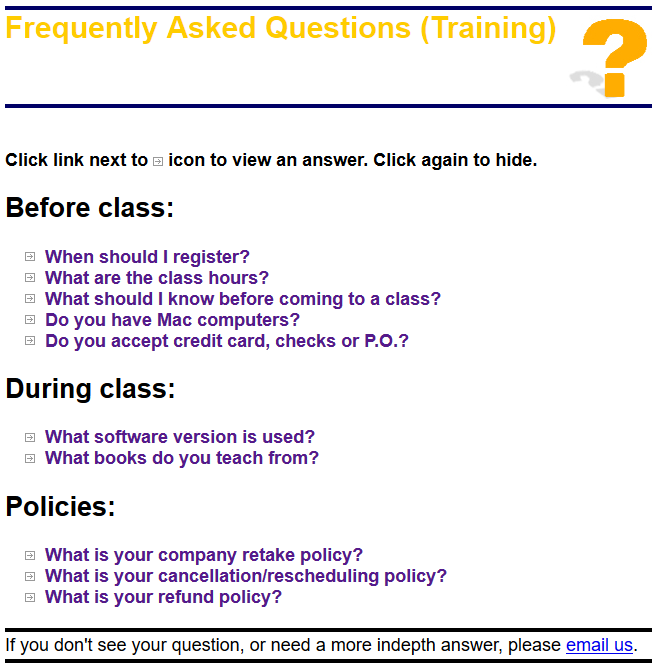
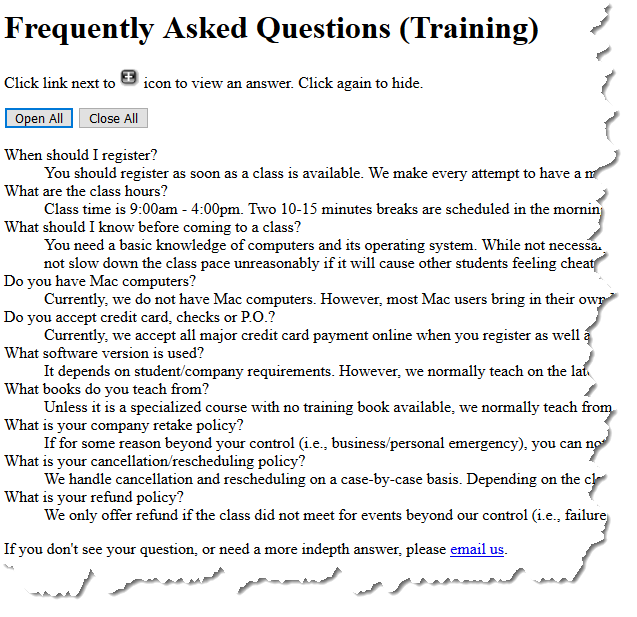
Version three of the FAQ Page uses a JAVASCRIPT FILE using a series of collapsible text that are all closed on start. Then, all of the FAQ answers can be opened or closed by clicking on them or clicking on the Open All or Close All button.
View FAQ_Advanced
- Download the buttons/images and FAQ_Advanced_Starter file into the same folder and then unzip them.
- Open the FAQ_Advanced_Starter.html file and review the current HTML content and then preview it in a browser.
- CHECK POINT: This file is somewhat boring. Let's "jazz" it up with some CSS goodness in the next step.
- In Dreamweaver, BELOW the title element, type link, press the Tab key, enter ToggleDL.css between the double quotes, select File > Save, and then preview the file in a browser.
NOTE: If you are not using Dreamweaver, just type the highlighted link below.
<title>FAQ_Advanced</title>
<link rel="stylesheet" href="ToggleDL.css"> - CHECK POINT: Save the file and preview it in a browser. You should see the page looks a lot nicer with the CSS style sheet applied. It is similar to the FAQ_Beginner and FAQ_Intermediate pages.
- Add the following highlighted script element BELOW the link element to link the ToggleDL.js to the page.
<link rel="stylesheet" href="ToggleDL.css">
NOTE: This is a a more complex JavaScript that will TOGGLE the visibility of the answers on or off when they are clicked or when the Open All and Close All button is clicked.
<script type="text/javascript" src="ToggleDL.js"></script> - CHECK POINT: For the sake of time, notice all of the highlighted attributes have been added for you already. Only two dl and dt elements are shown in the HTML below.
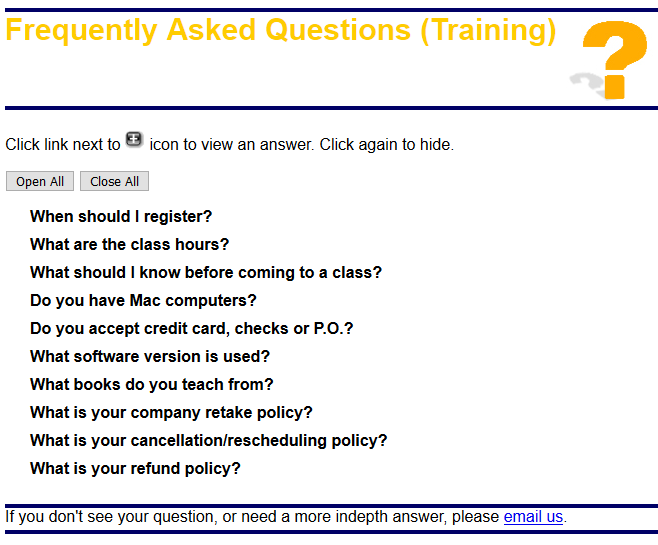
<body onload="ToggleDL()">
<h1 id="myHeading"> Frequently Asked Questions (Training)</h1>
<p>Click link next to <img src="images/toggleDLplus.gif" width="20" height="20" alt="" />
icon to view  an answer. Click again to hide.</p>
<div>
	<button href="#" id="OpenAll">Open All</button>
	<button href="#" id="CloseAll">Close All</button>
</div>
<dl id="DL">
		<dt>When should I register? </dt>
		<dd id="dd1">You should register as soon as a class is available. We make every
       attempt to have a minimum of two students so you may be required to reschedule
       if the class does not make.</dd>
		<dt>What are the class hours?</dt>
		<dd id="dd2">Class time is 9:00am - 4:00pm. Two 10-15 minutes breaks are scheduled
       in the morning and afternoon. Lunch is typically scheduled around noon. Students
can go out to eat or bring their own lunch.</dd> - CHECK POINT: Save the file and preview it in a browser. Click any question to see its answer displayed. If you click more than one, they will remain opened. Click the Open All or Close All button to see all of the answers opens or closes depending on their current state. Also notice the the last question that you click on stays highlighted.
- CHECK POINT: Optionally, examine the Toggle.css and ToggleDL.js file to get a better understanding how the FAQ Page is styled, the necessary attributes that are needed, and what the JavaScript file does.
NOTE: When reviewing the ToggleDL.js file, you may notice: ERROR: '[Function Name]' is defined not used. [no-used-vars] displayed if you hover over on of the red number on the left side of the code. This is not a real problem. This error is displayed because the function is not invoked in the code by in the page based on the ToggleDL() function in the body element (e.g., <body onload="ToggleDL()">). If you where to copy this code into a script element in the page, you would not see these errors.
Notes on ToggleDL.js JavaScript files:
- The ToggleDL() function is used to create an array for the definition list (dl).
- The ToggleDL() function "if" statement ((document.getElementById && document.getElementsByTagName)) is used to ascertain....
- The DT and DL variables:
- var DT = document.getElementById('DL').getElementsByTagName('dt');
- var DD = document.getElementById('DL').getElementsByTagName('dd');
are used to get a reference to the Id of the definition list and ALL of dt and dd tag names from the HTML page.
<dl id="DL">
<dt>When should I register? </dt>
<dd id="dd1">You should register as soon as a class is available. We make every attempt
to have a minimum of two students so you may be required to reschedule if the class does
not make.</dd>
...
- The OpenAll and CloseAll variables:
- var OpenAll = document.getElementById('OpenAll');
- var CloseAll = document.getElementById('CloseAll');
are used to get a reference to the OpenAll and CloseAll buttons from the HTML page.
<div>
	<button href="#" id="OpenAll">Open All</button>
	<button href="#" id="CloseAll">Close All</button>
</div>
- The "if" statement (if (OpenAll && CloseAll) {...};) is used DYNAMICALLY ASSIGN HTML ATTRIBUTES (e.g., onclick, title, and href) to the OpenAll and CloseALL buttons in the HTML code. NOTE: Since the href is dynamically created in this JavaScript file, the href="#" can be safely deleted in the page because it is redundant. If you preview the file in browser and hover over one of the buttons, you will see the dynamic titles (Show all answers and Hide all answers) show up as a tooltip. Since the titles are static, they could be "hard-wired" into the HTML page instead added to this code.
- The "for" loop (for (var i = 0; i < DT.length; i++) {...}:) is used for two purposes:
- add the Href and Content variables to iterate (loop) through the definition list ARRAY (e.g., DL[i]) and DYNIMICALLY INJECT an "a" element with a host of ATTRIBUTES to EACH of the "dt" element using the innerHTML property.
- add two class names:
- The first classname hideDD is assigned to the definition (DD) to hide ALL of the answers when the page loads (DD[i].className = 'hideDD';) based on the hideDD class (#DL dd, .hideDD { top: -9999px; position: absolute}) in the CSS file.
- The second classname DTplus is assigned to the definition term (DT) to show the plus icon image ( DT[i].className = 'DTplus';) based on the DTplus class (#DL .DTplus a {background-image: url("images/toggleDLplus.gif")}) in the CSS file.
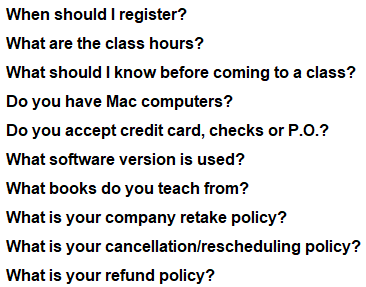
If you were to look at the code in the Code View, you will see simply this:
<dl id="DL">
		<dt>When should I register? </dt>
and notice there is no plus icon image next to each question:
However, if you view the page in a BROWER, press F12, and view the content of the Inspector panel, you will see the "a" element and a host of attributes INJECTED into the page.

NOTE: Notice the doToggleDL(0) function with the onclick handler. This function will be explained later.
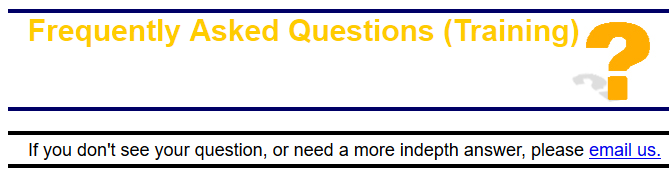
SPECIAL NOTE: Notice that you can see the answer text in the "dd" text above; however, in the actually page it is hidden (see screenshot below). This is because the text is actually hidden from view using the following CSS selector:
#DL dd, .hideDD {
		top: -9999px;
		position: absolute
}
and notice there is a plus icon image next to each question:
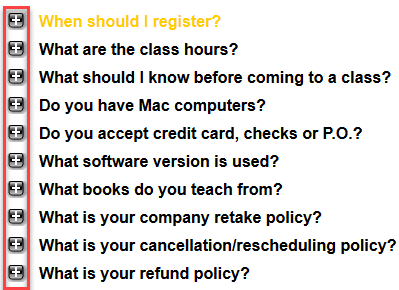
- The function doToggleDL(x) {...}; is used to change the class name to TOGGLE the functionality of the definition list based on their CURRENT STATE using two "if" statements:
- If the answers are hidden, show them and show the minus icon images
- If the answers are shown, hid them and show the plus icon images.
- The function ToggleDLopen() {...}; and function ToggleDLclose() {...}; are used as their names imply to open or close the definition list and change the class name, respectively.
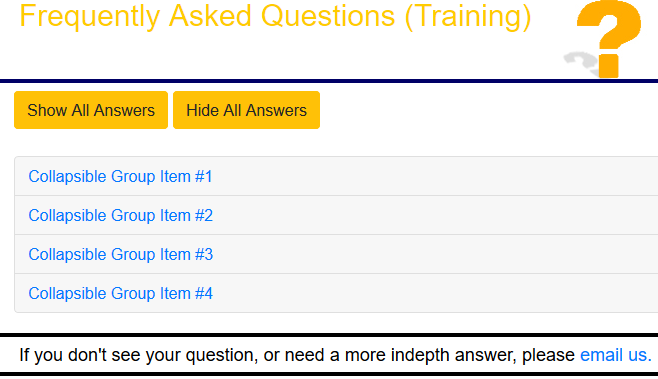
Version four of the FAQ Page uses the BOOTSTRAP FRAMEWORK to create a series of collapsible accordions and a set of buttons to open and close all of the panels at one time.
IMPORTANT NOTE: While the Bootstrap Components in the Insert Panel could have been used for this tutorial, it is best to get the later version of the BootStrap framework components directly from the BootStrap website to avoid all of the compatibility issues that you may have with using an older version using Dreamweaver.
- Download the buttons/images, CSS/JS, and FAQ_Expert_Starter file into the same folder and then unzip them.
- Open the FAQ_Expert_Starter.html file and review the current HTML content and then preview it in a browser.
- CHECK POINT: This file is somewhat boring. Let's "jazz" it up with some CSS goodness in the next step.

- In Dreamweaver, BELOW the title element, type link, press the TAB key, enter FAQ_Expert.css between the double quotes, and then click in th Design View to commit the changes.
- CHECK POINT: Save the file and preview it in a browser. It should look a lot nicer with the CSS styles applied.
- Go to the getbootstrap website, click the Get Started button, scroll down the page and in CSS title, click the Copy button and then go back to Dreamweaver and paste the CSS link BELOW the title element
<title>FAQ_Expert</title>
<link rel="stylesheet" href="https://stackpath.bootstrapcdn.com/bootstrap/4.5.0/css/bootstrap.min.css"
integrity="sha384-9aIt2nRpC12Uk9gS9baDl411NQApFmC26EwAOH8WgZl5MYYxFfc+NcPb1dKGj7Sk"
crossorigin="anonymous">
<link rel="stylesheet" href="FAQ_Expert.css"> - Go back to the getbootstrap website, and in the JS section, click the Copy button and then go back to Dreamweaver and paste the there script elements ABOVE the closing body element (</body>).
<script src="https://code.jquery.com/jquery-3.5.1.slim.min.js" integrity=
"sha384-DfXdz2htPH0lsSSs5nCTpuj/zy4C+OGpamoFVy38MVBnE+IbbVYUew+OrCXaRkfj"
crossorigin="anonymous"></script>
<script src="https://cdn.jsdelivr.net/npm/popper.js@1.16.0/dist/umd/popper.min.js"
integrity="sha384-Q6E9RHvbIyZFJoft+2mJbHaEWldlvI9IOYy5n3zV9zzTtmI3UksdQRVvoxMfooAo"
crossorigin="anonymous"></script>
<script src="https://stackpath.bootstrapcdn.com/bootstrap/4.5.0/js/bootstrap.min.js"
integrity="sha384-OgVRvuATP1z7JjHLkuOU7Xw704+h835Lr+6QL9UvYjZE3Ipu6Tp75j7Bh/kR0JKI"
crossorigin="anonymous"></script>
</body>
NOTE: The first script is jquery.min.js, the second is popper.min.js, and the third is bootstrap.min.js. The "min" in the script names denotes that that are MINIFIED VERSIONS of the script files.
- Add the following div element after the h1 element.
<h1 id="myHeading">Frequently Asked Questions (Training)</h1>
<div class="container-fluid">

</div>
NOTE: The div element that was added has a class of container-fluid that is part of the BootStrap framework. Typically, most content in a BootStrap framework is "contained" with a container class (e.g., container-fluid).
- Go back to the getbootstrap website, and click on Document and then click on the Components and then the Collapse link in the left side panel. Scroll down to the Accordion Example section and then click on the Copy button to copy the code to the clipboard.
- Go back to Dreamweaver and place the cursor in the middle div element that was created earlier and paste in the code from the BootStrap website. Delete all but three lines of the placeholder text in each of the panel so that you can see the structure better. Only one panel is shown below:
<div class="container-fluid">
<div class="accordion" id="accordionExample">
<div class="card">
    <div class="card-header" id="headingOne">
      <h2 class="mb-0">
        <button class="btn btn-link btn-block text-left" type="button" data-toggle="collapse"
        data-target="#collapseOne" aria-expanded="true" aria-controls="collapseOne">
          Collapsible Group Item #1
        </button>
      </h2>
    </div>
<div id="collapseOne" class="collapse show" aria-labelledby="headingOne" data-parent="#accordionExample">
      <div class="card-body">
        Anim pariatur cliche reprehenderit, enim eiusmod high life accusamus terry richardson ad squid.
        3 wolf moon officia aute, non cupidatat skateboard dolor brunch. Food truck
        </div>
   </div>
  </div>
</div>
</div> - CHECK POINT: Save the file and preview it in a browser. You should see that the Accordion with its first panel open by default. We will have it close by default in the next step. Click the panels to see they collapse or expand.
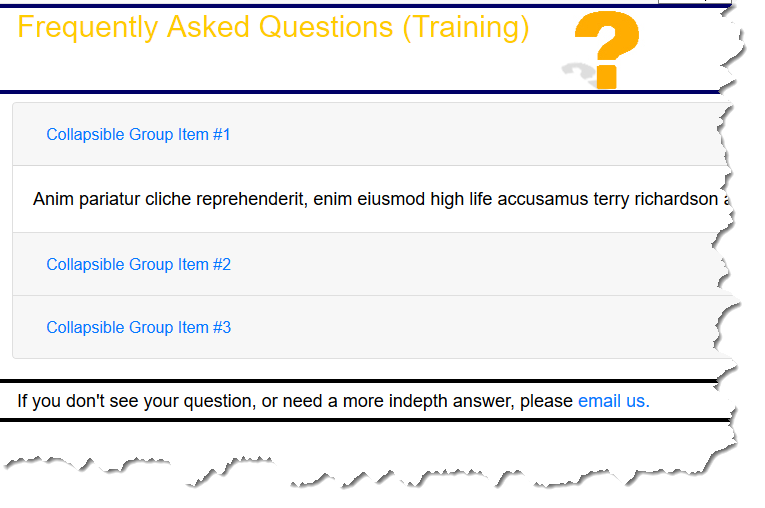
- CHECK POINT: In the first panel, change the class collapse show to collapse hide.
<div id="collapseOne" class="collapse hide" aria-labelledby="headingOne" data-parent="#accordionExample">
<div class="card-body">
        Anim pariatur cliche reprehenderit, enim eiusmod high life accusamus terry richardson ad squid.
        3 wolf moon officia aute, non cupidatat skateboard dolor brunch. Food truck
  </div>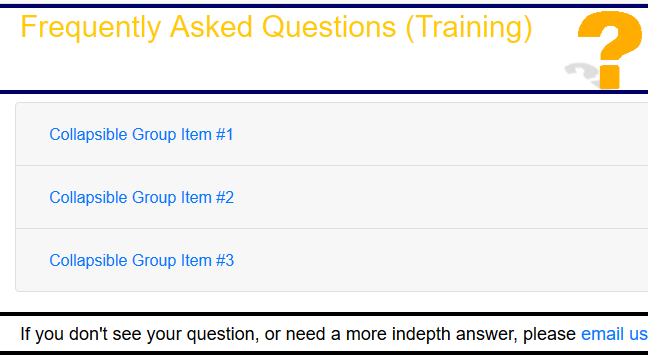
</div> - CHECK POINT: Save the file and preview it in a browser. You will be now see that ALL of the panels are closed.
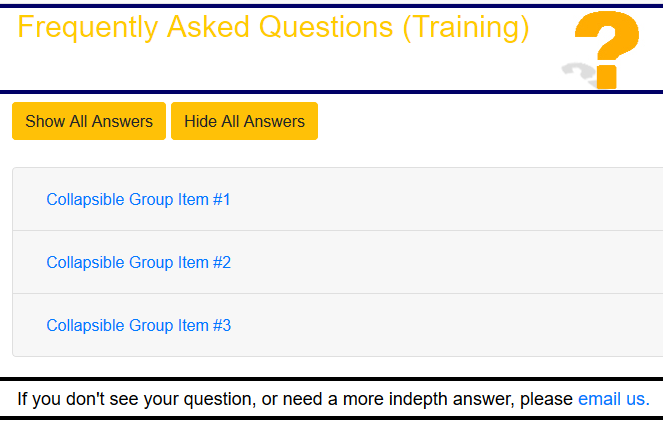
- Add the following two buttons and two break elementsBELOW the <div class="container-fluid"> opening tag.
<div class="container-fluid">
<button class="btn btn-warning" id="toggleAccordions-show">Show All Answers</button>
<button class="btn btn-warning" id="toggleAccordions-hide">Hide All Answers</button>
<br>
<br> - CHECK POINT: Save the file and preview it in a browser. You should see the two buttons that will be used later to open or close all of the panels.
- Add the following highlighted script element BELOW the previous script element
<script src="http://ajax.googleapis.com/ajax/libs/jquery/1.11.0/jquery.min.js"></script>
NOTE: This script basically toggle the panels on and off.
<script>
$(document).ready(function(){
/* The accordion is built so only one panel can be shown at the time,
so the key is to override this behavior by first removing the data-parent
attribute on SHOW and adding it on HIDE. */
$('#toggleAccordions-show').on('click', function(e) {
$('#accordionExample .collapse').removeAttr("data-parent");
$('#accordionExample .collapse').collapse('show');
})
$('#toggleAccordions-hide').on('click', function(e) {
$('#accordionExample .collapse').attr("data-parent","#accordion");
$('#accordionExample .collapse').collapse('hide');
})
});
</script> - CHECK POINT: Save the file and preview it in a browser. Click on the two buttons to see how they open and close all of the panels.
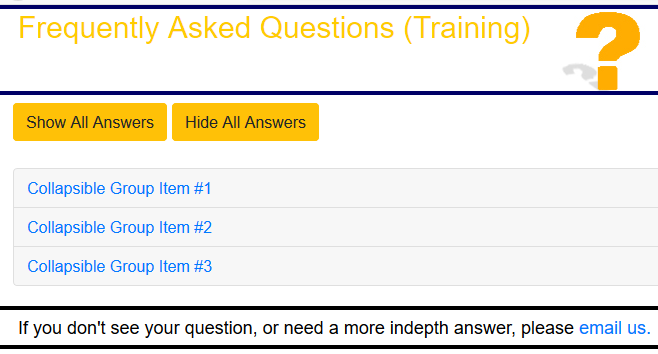
- Optionally, add the following style element ABOVE the closing head tag (</head>) to reduce the height of the panels.
<style>
	.card-header{padding:0}
</style>
</head> - CHECK POINT: Save the file and preview it in a browser. You should see that the panel height is smaller.
- Highlight the last div with the class of card, copy the code, paste it BELOW the existing code and then change all of the highlighted words Three to Four and the highlighted the number 3 and change it to 4.
TIP: To select all of the word "Three" and change them to "Four", hold down the CMD/CTRL key and highlight each one of them (five total) and then type the word Four to replace them all at one time.
  <div class="card">
    <div class="card-header" id="headingFour">
      <h2 class="mb-0">
        <button class="btn btn-link btn-block text-left collapsed" type="button" data-toggle="collapse"
         data-target="#collapseFour" aria-expanded="false" aria-controls="collapseFour">
          Collapsible Group Item #4
        </button>
      </h2>
    </div>
    <div id="collapseFour" class="collapse" aria-labelledby="headingFour" data-parent="#accordionExample">
      <div class="card-body">
        Anim pariatur cliche reprehenderit, enim eiusmod high life accusamus terry richardson ad squid.
        3 wolf moon officia aute, non cupidatat skateboard dolor brunch. Food truck
      </div>
    </div>
</div> - CHECK POINT: Save the file and preview it in a browser. You should now see FOUR panels instead of three. Click on the buttons to see if the additional panel works.
- Repeat the previous step six more times for the other six questions.
- Replace the text with your own questions and answers.