Learning Selections From The Joes
Joe The Inspector
Joe The Inspector uses COLOR INFORMATION to EXTRACT delicate selections.
Major tools of the trade: COLOR RANGE PANEL/CHANNELS PANEL
Color Range Menu and Channel Panel – beside the color selection tools (e.g., Quick Selection and Magic Wand) that does basic color selections, there are two more advanced ways of extracting a selection using colors when an image has fine details (e.g., hair, fur) that has to be selected.
Color Range – Choose Select > Color Range... from the main menu and then use the eye dropper tool repeatedly, if necessary, to sample colors from the image that you want to make a selection out of.
Channels Panel – From the Channels Panel, select all RGB or CMYK channels one at a time to determine which one has the most dominant color information or the most contrast in a given channel.
Luminosity Selection
You can create a Luminosity Selection. A Luminosity Selection can be created by the pressing CMD/CTRL or ALT/OPTION and 2 to select the bright pixel in an image.
In the Channels panel, you can use the shortcut keys in the Channels Layer (CTRL+2, CTRL3, etc.)
See YouTube video for details: https://www.youtube.com/watch?v=ZDU4B6_McRE
Alpha Channel Selection
The least common way to make a selection is to use an Alpha Channel.
Follow the steps belows:
NOTE: To see more detail steps, go to the Create A Selection from an Alpha Channel
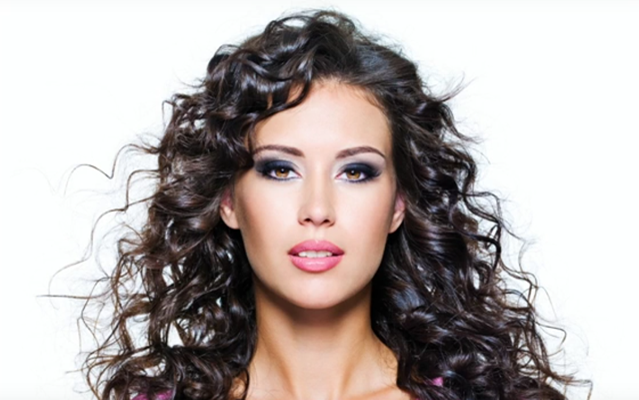
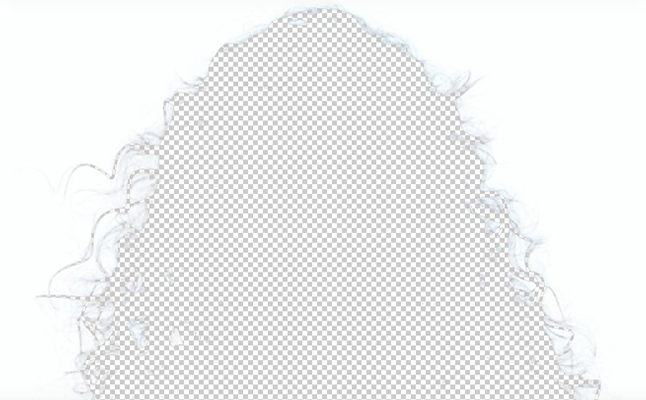
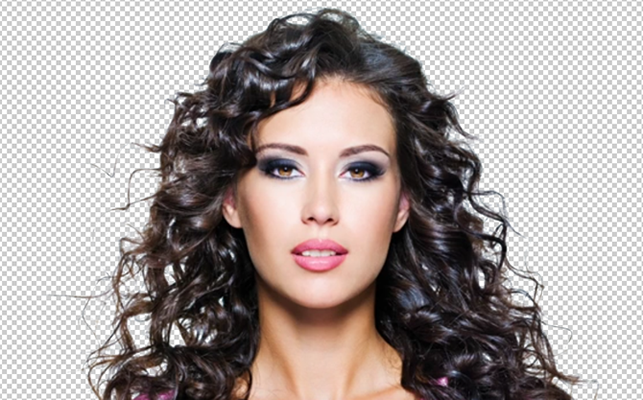
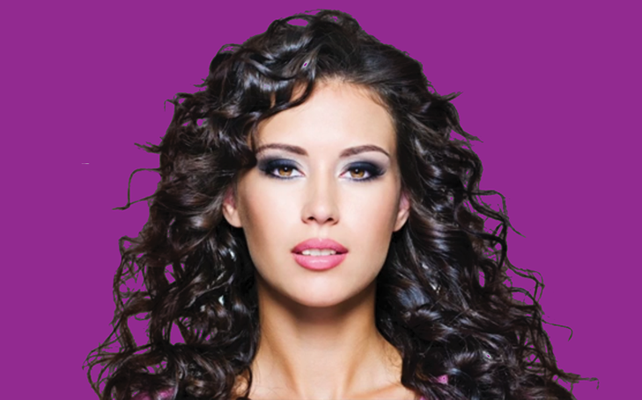
- Open an image that is difficult to make a selection (e.g., hair, fur, feather).
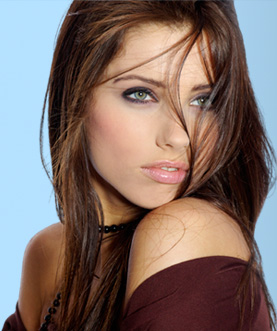
- TIP: If possible use an image with a good contrast with the background
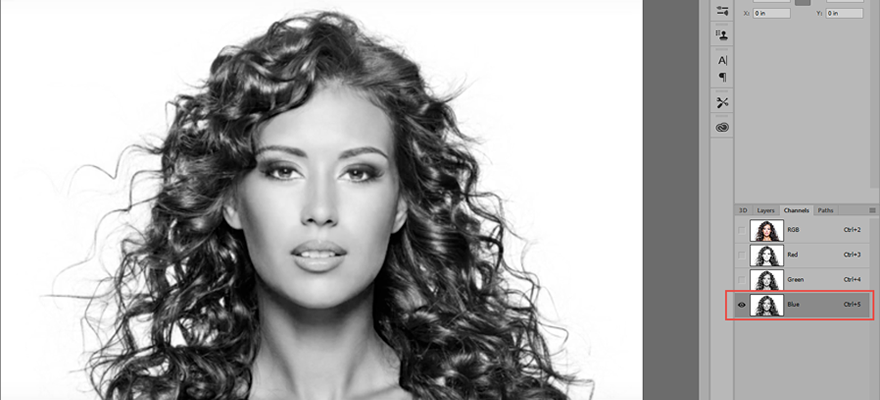
- Open the Channels panel (Window > Channels).
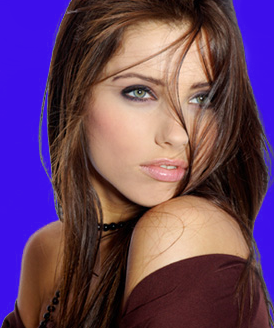
- Examine each color channels individually to determine which channel has the best black and white contrast between the subject (e.g., person with frenzy hair) and its background with emphasis on the edges. In the example below, it is the blue channel.
- TIP: To view the channels one at a time press CTRL+3, CTRL+4, etc.
- Make a copy of the alpha channel that has the most contrast from one of the files and turn off the other layers if they are on.
- TIP: Drag the Alpha Channel layer to the Create New Channel icon at the bottom of the Channels panel and optional rename the layer (e.g., custom mask) or right-click and select Duplicate Channel, give it a name (e.g., custom mask) and click the OK button.
- NOTE: A copy of the channel has to be made because the Red, Blue, and Green channels are dedicated to the image to make a composite in the top RGB channel.

- Use the Quick Selection Tool to select areas that are not part of the edges (e.g., hair). If there are any holes in this area, press the Option key (Mac) or Alt key (Windows) to remove them.
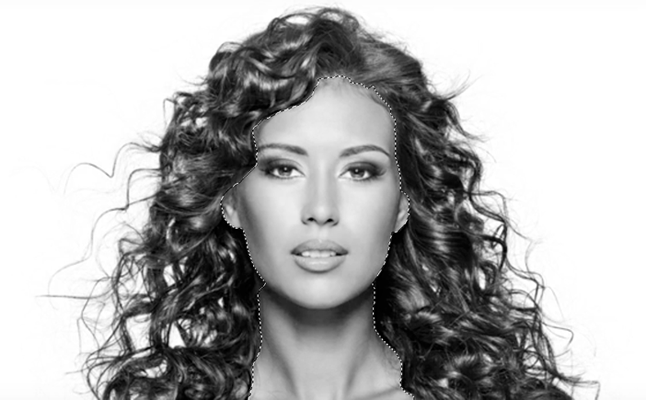
- Press the D key to get set default Black and White colors. With the background color set to black, press ALT+Backspace/Delete to fill area with black and then deselect the selection (CTRL/CMD+D).
_selection_with_black.png)
- Optionally, press the X key to set the background to black and use the paintbrush to paint away any other areas that you may have missed using the selection (e.g., halo). You can also make a selection and use the paintbrush with White to whiten the white areas as needed.
- Zoom in at a larger than a 100% zoom level so that you can see the edge detail better, press Image > Adjustments > Levels or press (CTRL+L (Windows) or CMD+L (Mac)) to use the Levels Tool to force contrast (bring out fine and subtle details) until the subject in the image is mostly black with emphasis again on the edges. Click the OK button to commit the Levels settings. Zoom back out to see the whole image again.
NOTE: The Levels Tool is used to darken the black area and brighten the white area more.
ALTERNATE: You could also use the Curves Tool if you are familiar with it.
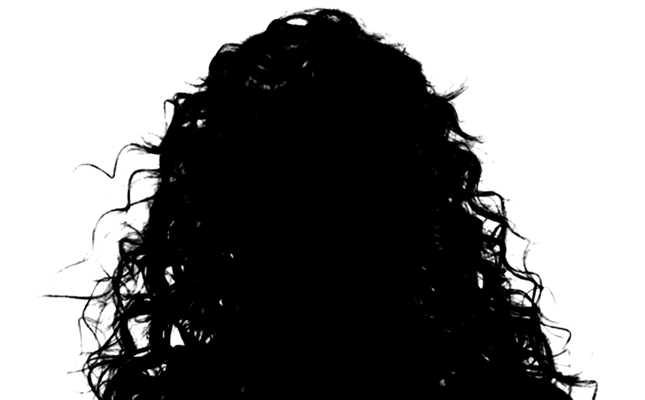
NOTE: The white areas will represent the selected areas and black areas will represent the masked or protected areas of the image. Remember, black conceals, white reveals.
- If you are using Levels:
- Move the black and white sliders toward the center where the shadows (dark gray colors) should become black and highlights (soft white) become white.
- Move the mid tone (gray) slider to the right.
NOTE: Don't go overboard when using these adjustments or it will distort the image. You should strive to see the edge details clearly.
- Click the OK button to commit the changes.
- If you are using Curves:
- ....
- ....
CAUTION: Pay attention to the fine details on the edges as you make adjustment as you may lose some details in the process if you overdo it. If so, back off the adjustment to bring back the details. You may need to paint with black and white in small areas as needed to fix minor imperfections.
- Press CTRL/CMD + click on the Channel thumbnail to get a selection from the Alpha Channel.
- Switch to the Layers panel and then create a Layer Mask by clicking on the Add Layer Mask icon at the bottom of the Layers panel.
- With the Mask thumbnail selected, open the Properties panel and click the Invert button to invert the mask.
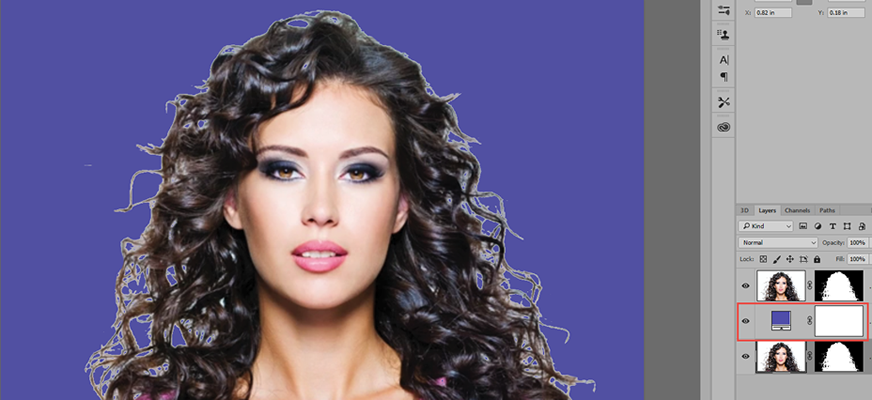
- CHECK POINT: Create a new layer below the Layer Mask layer, click the Adjustment Layer icon, select Solid Color and then notice that the edges may not be clear. In this example, it has a white halo from the white background of the original image..
- Create a layer above the Layer Mask Layer and the press the ALT key between the two layers to create a Clipping Mask to the Layer Mask Layer below.
NOTE: The Clipping Mask layer is used to "clip" what is done on that layer into the "shape" in the layer below.
- Click the Paintbrush Too, select a soft-brush, sample a color on the edge of the image (e.g., hair color) and paint around the edges of the image.

ALTERNATIVE: Select the Clone Stamp Tool with the Mode set to Darken AND the Sample drop-down box to Current Layer & Below. Then, press
the ALT key to sample an edge (e.g., hair color) and then paint it on the edges (e.g., frenzy hair) Repeat this process for the entire image.
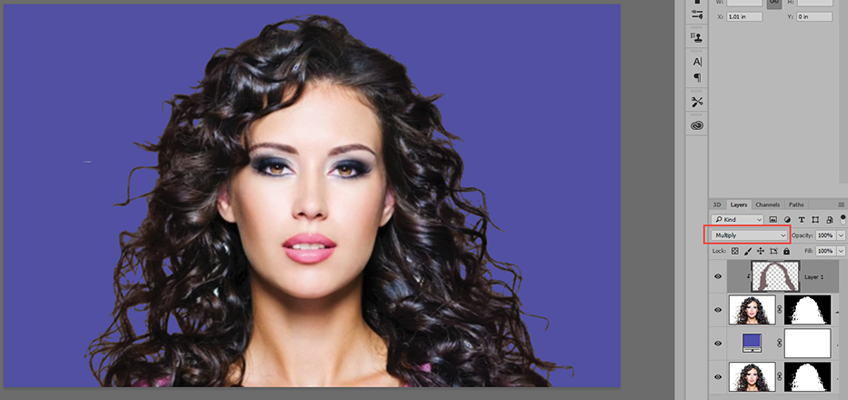
- CHECK POINT: In the Layers panel, set the Mode to Multiple. You should see the edges more defined.
NOTE: The MULTIPLY blend mode is used to "multiply" the pixels of two layers to get a "blend" of the two color definitions.
- Double-click the Adjustment Layer icon and then change the color to see it you missed some areas. If so, repeat the previous step.
Scenario: Once Joe The Contractor is complete, Joe The Inspector comes in and inspect some of the finished work so that he can refine it.
BONUS
Another approach to select hair is to use the Background Eraser tool. This technique is particularly useful when there is a solid color background. The Background Eraser Tool will erase a SINGLE color or a RANGE of colors depending on its setting. The regular Eraser Tool will erase ALL colors.
- Open an image, duplicate the Background layer (CTRL/CMD + J) and then turn the Background layer off. Optionally, rename the top layer.
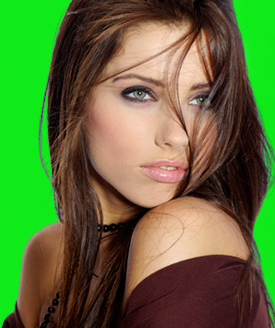
- Create a new blank layer and then add an Adjustment Layer with a Solid Color between the two layers.

ALTERNATIVE: You can press CTRL/CMD + U to change the color of a layer without using an Adjustment Layer Mask.
- Select the Background Eraser Tool and set the following options in the Option panel:
- Adjust the Size of the Eraser brush, if necessary.
- Adjust the Hardness to about 50%.
- Select Sample Once from the Options panel.
- Select Limit to Discontiguous.
- Select Protect Foreground Color. And then sample some of the hair for the Foreground swatch.

- Experiment with the Tolerance level. First, select a low Tolerance Level (10) and then paint around the hair. See if the color is erased. If not, undo changes. Next, select a high Tolerance Level (60) and then paint around the hair. See if the color is erased. If not, undo the changes. Keep trying until you get the correct Tolerance Level and use it to paint around the image. In our example, we used a Tolerance of 50.
- CHECK POINT: Check the background color on the Adjustment layer to see it affects the background and the image.
Optionally, you can use the regular Eraser Tool Tool to erase the solid area around the hair BUT not on the hair.