Using Alpha Channels, Vectors, and Selections Together
In this tutorial we will learn how to use Alpha Channels, Vectors and Selections together to create a complete house makeover without ever altering the original image.
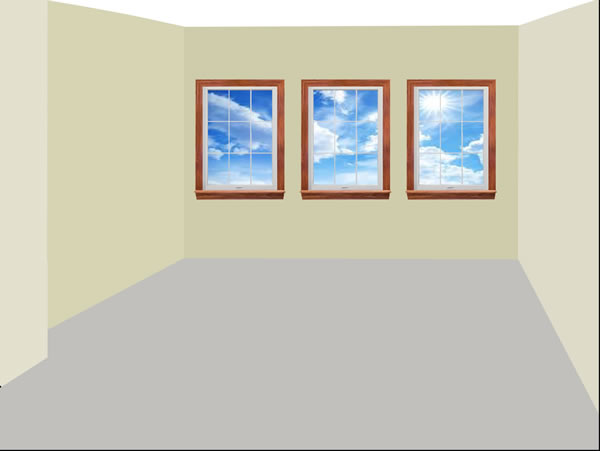
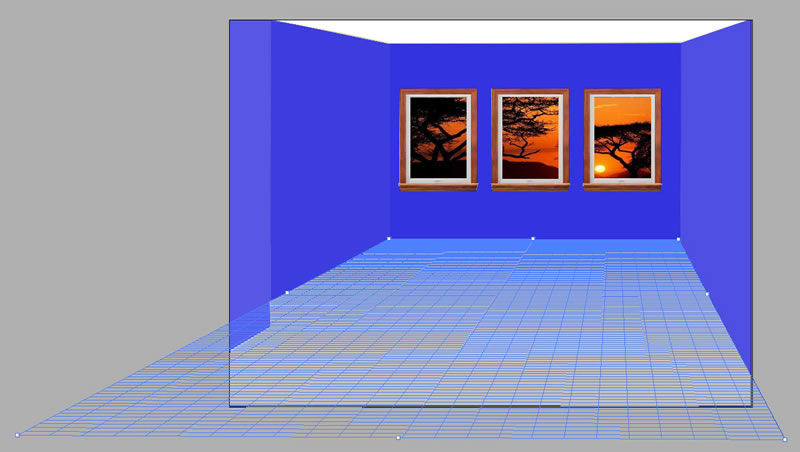
FUTURE UPDATE: Create a simpler room image using the Pen Tool -- See image below
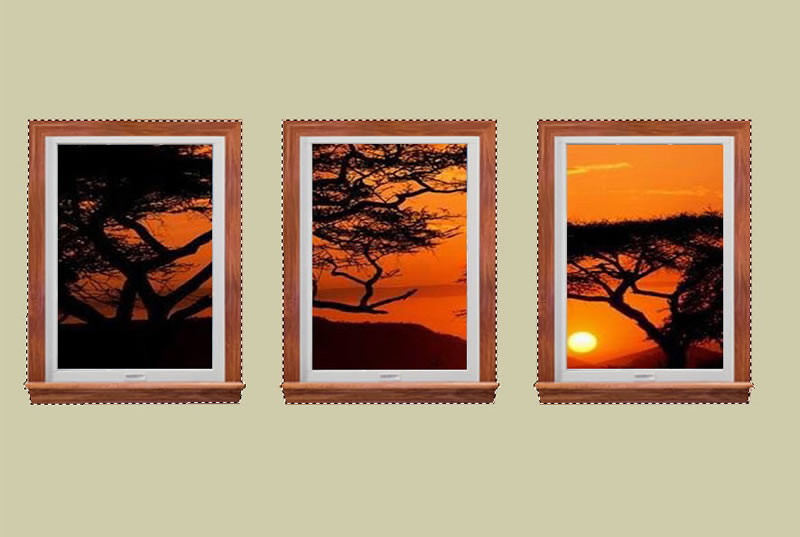
Open Project File
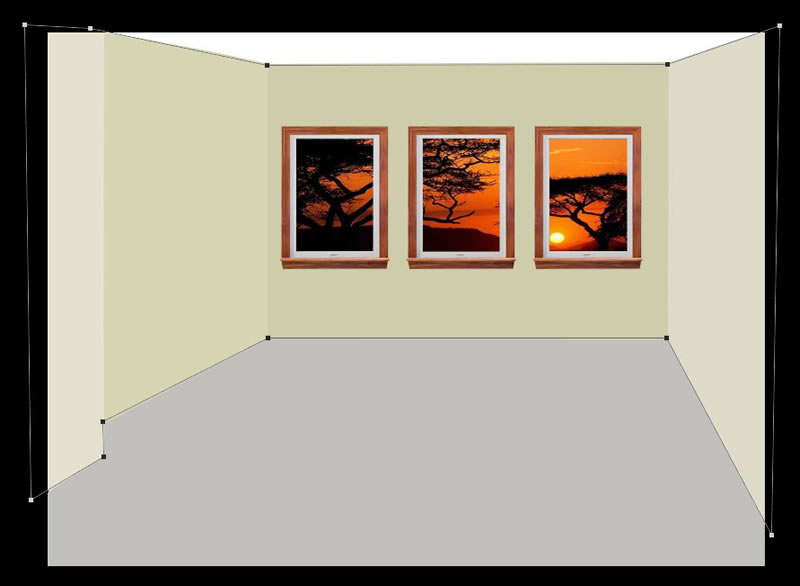
- Open the project file originalroom.jpg in the exercise folder.
- Duplicate the Background layer by right-clicking the layer and selecting Duplicate Layer, optionally give it a name and then press the OK button.
ALTERNATIVE: You can press CTRL/CMD+J.
Add Selections
- Zoom into the three windows and then using the Rectangular Marquee Tool create a selection around the first window pane (not the window's frame). Then, hold down the SHIFT key and add selections for the other two window's panes.

- CHECK POINT: You should see the the three selections.
Add Background to Windows
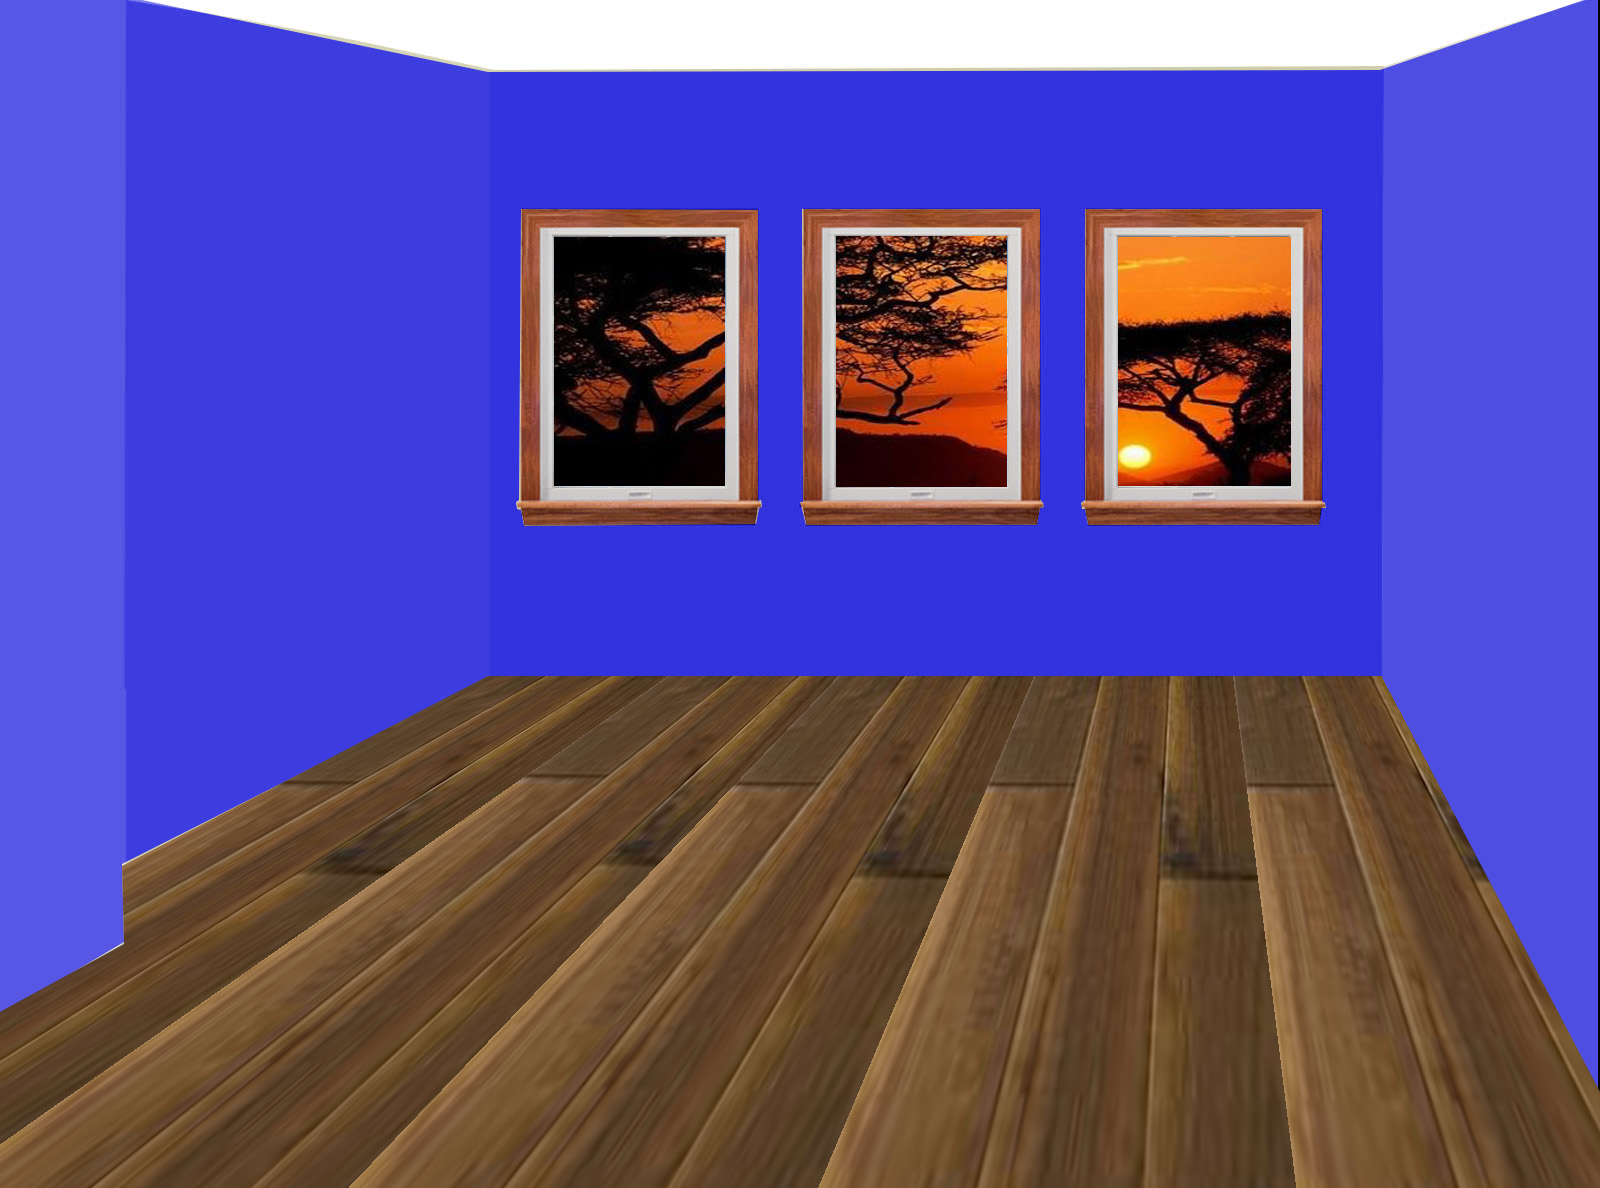
- Select File > Open... or press CTRL/CMD+O and navigate to the exercise image's folder and select African_Sunset.jpg and then click the Open button to open the image on a new tab.
- Press CTRL/CMD+A to select all of the pixels in the image and then copy the image (CTRL/CMD+C) and then click the originalroom.jpg tab to switch to it.
- With the three windows' panes still selected, select Edit > Paste Special > Paste Into... to paste the image INTO the SELECTIONS.
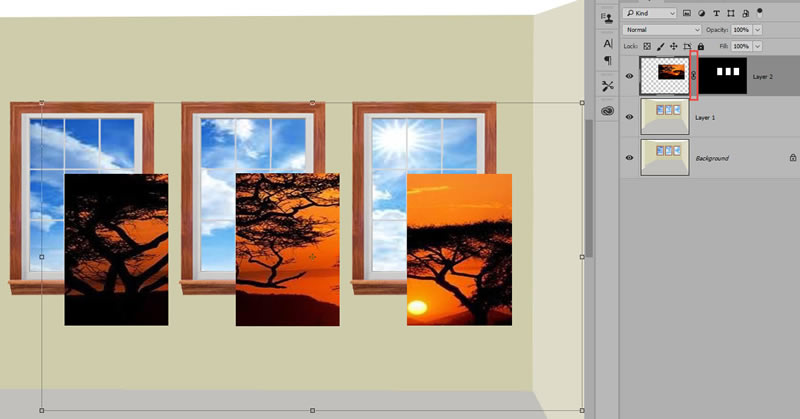
NOTE: Notice that the image that was pasted is small in the Layers Panel thumbnail and on the canvas. Also, notice that the Paste Into command AUTOMATICALLY created a layer and a Layer Mask (highlight in red).
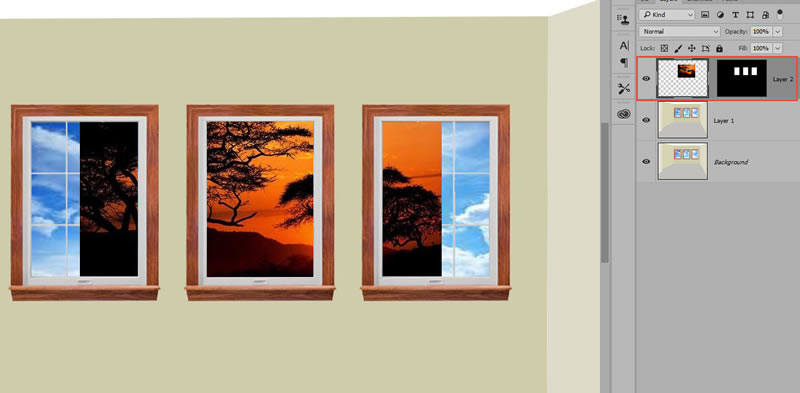
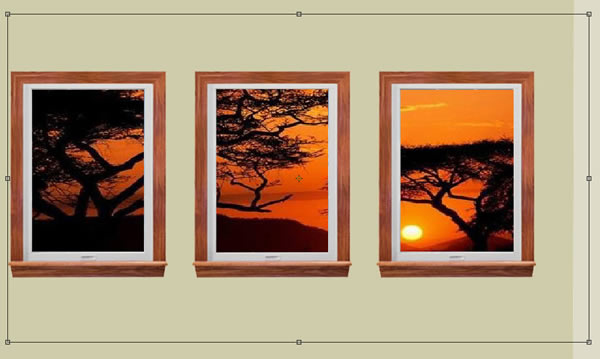
- Press CTRL/CMD+T and select one of more of the handles to scale the image so that it neatly fit within the three window panes. Optionally, you can use the Move Tool to move the image within the selections. Then, press the Enter key to commit the change and hide the transformation bounding box.
- CHECK POINT: It is important to note that the image was "clipped" into the selected via a Layer Mask. To prove this, turn the layer visibility icon off and then on again. Next, ensure there is a link icon between the image and the Layer Mask in the Layers panel and then with the Move Tool drag the image on the canvas to see the original window panes. Press CTRL/CMD+Z to undo the move.
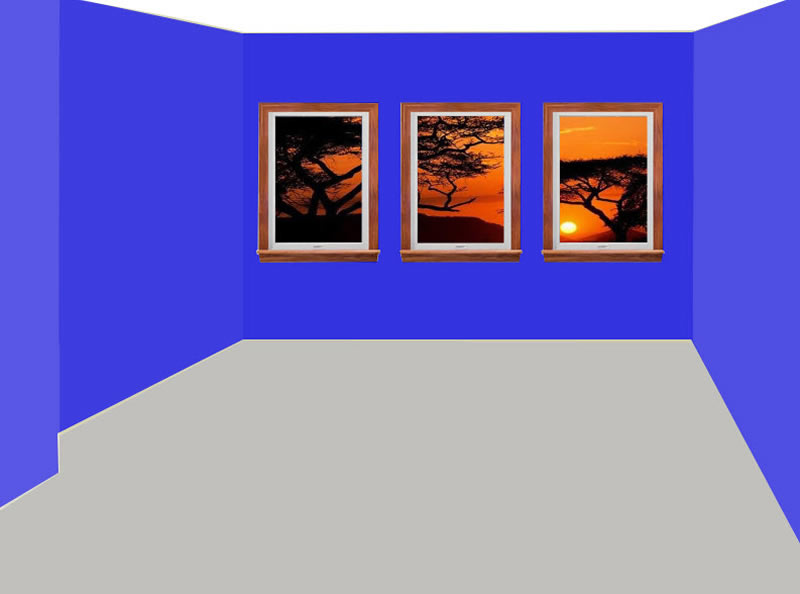
Add Solid Color to Wall
- Create a new blank layer at the top of the Layers panel and name it "wall."
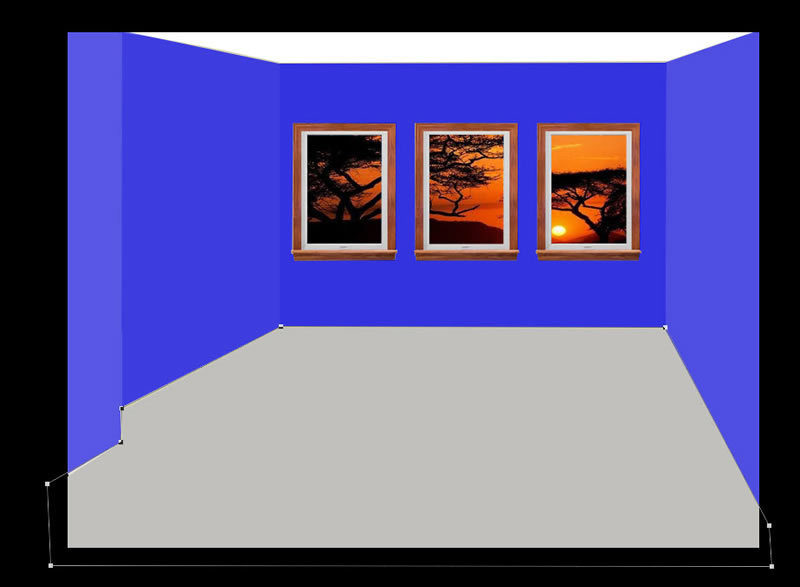
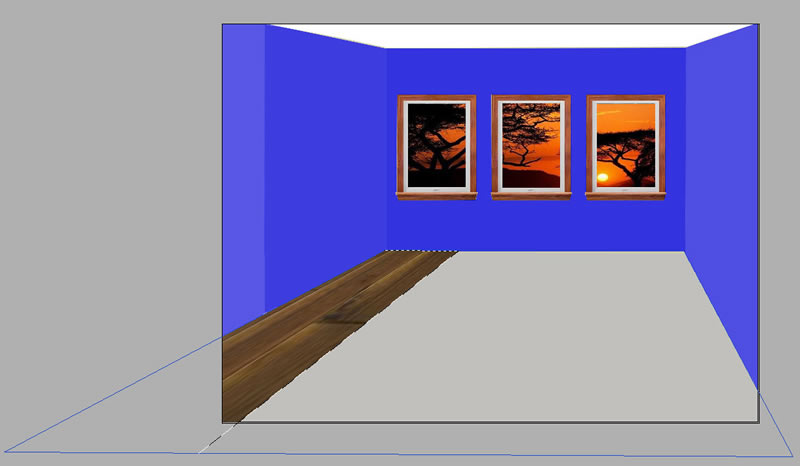
- Double-click on the Hand Tool or press CTRL/CMD+0) to fit the image within view. Using the Pen Tool, drawn a path around just the yellow wall (don't include the ceiling).
NOTE: The background in the screen shot has been set to black so that you can see the vector path better.
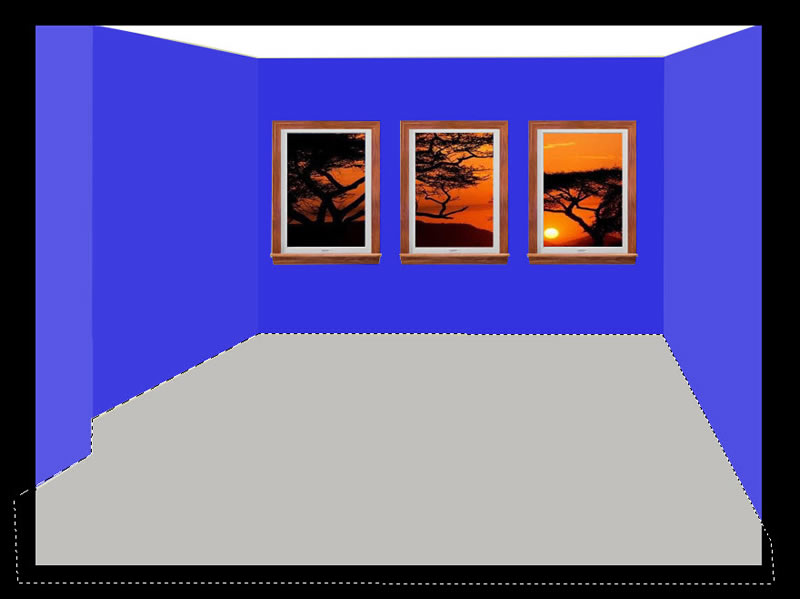
- Right-click inside the vector path and choose Make Selection... from the menu and click the OK button.
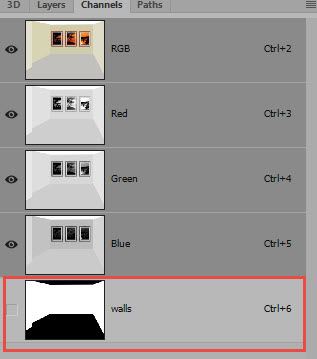
- Click on a Marquee Selection Tool and then save the selection as an Alpha Channel by right-clicking inside of the selection and choose Save Selection... from the menu, give it name of walls and then click the OK button.
- CHECK POINT: Switch to the Channels Panel. You should see that the walls has been saved as an Alpha Channel.
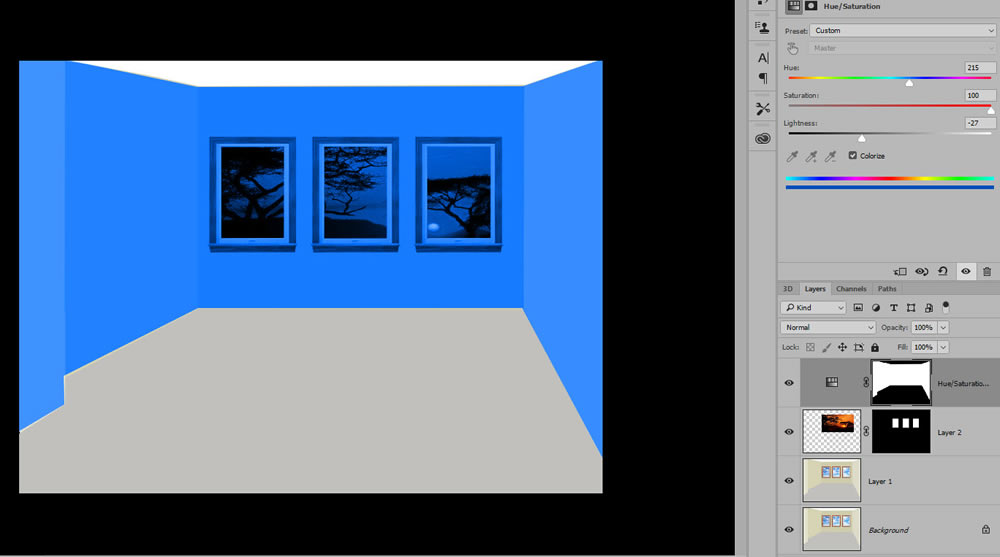
- Click the Create new fill or adjustment layer icon at the bottom of the Layers Panel and select the Solid Color... option from the menu. Then, select any color.

- CHECK POINT: You should see that the color that was added blows away the corner edges of the wall, the wall texture and the windows. This will be corrected in the next step.
Add Hue/Saturation to Wall
- Delete the layer with the Solid Color Adjustment Mask.
- Choose Select > Load Selection... and choose walls from the Channel drop down menu and then click the OK button to load the wall selection again.
- Click the Create new fill or adjustment layer icon again at the bottom of the Layers Panel and select the Hue/Saturation... option from the menu, click the Colorize checkbox and then adjust the Hue, Saturation and Lightness sliders to select a color.
NOTE: The Hue sliders represents the actual color, the Saturation represents the how "saturated" the color is and the Lightness represents how much light the color has.
- CHECK POINT: While this is an improvement over the previous step it introduces two other issues. The sunset image and the window frames are both affected by the Adjustment Layer Mask. Both of these issues will be resolved in the next session.
Select Window Frames
- Delete the Hue/Saturation Adjustment Layer.
- Zoom in on the three window frames and use the Pen Tool to drawn three vector paths around the window frames. Select the Path Selection Tool and hold down the SHIFT key and click on all three paths to select them. Then, right-click in the selection and choose Make Selection from the menu and then click the OK button to convert the paths to a selection.
- Click any Marquee Selection Tool (e.g., Rectangular) and then right-click inside of the selection and choose Save Selection... and name it window_frames and then click the OK button.
Subtract Selections
There is a host of ways to subtract (or add) one selection from another.
- Zoom back out and deselect the existing selections.
- Switch to the Channels Panel and then CTRL + click the walls thumbnail to see the wall selection on the canvas. Then, press CTRL + ALT + click the window_frames thumbnail to subtract the window selection from the existing walls selection.
NOTE: The CTRL key is used to ADD a selection and the CTRL+ALT keys are used to SUBTRACT from a selection. - Click any Marquee Selection Tool and then right-click inside of the selection and choose Save Selection... and name it wall_minus_window_frames and then click the OK button.
- Click the Create new fill or adjustment layer icon again at the bottom of the Layers Panel and select the Hue/Saturation... option from the menu, click the Colorize checkbox and then adjust the Hue, Saturation and Lightness sliders to select a color.
- CHECK POINT: Notice this time the sunset and the window frames are not affected by the Adjustment Layer because those areas were "cut out" of the Alpha Channel mask in the previous steps.
NOTE: There are many ways to create the SAME selection. See ADVANCED: Four Ways of Adding or Subtracting Selections.
Change Carpet to Wood Floor
- Open the ColonialWalnut.jpg from the exercise file.
- Select CTRL/CMD+A to select all of the pixels in that image and then Copy it to the clipboard.
- Switch back to the original image.
- Zoom out so that you can see the artboard as well as the canvas. Use the pen and drawn a selection around the carpet.
- Right-click inside of the path and select Make Selection... from the menu and then click the OK button.
- (Optional) Save the selection as an Alpha Channel by choosing a Selection Tool and then right-click inside of the selection and choose Save Selection..... In the dialog box that appears, give it a name of carpet and then click the OK button.
- Deselect the Selection.
- Create a new blank layer at the top of the Layers Panel and name it carpet.
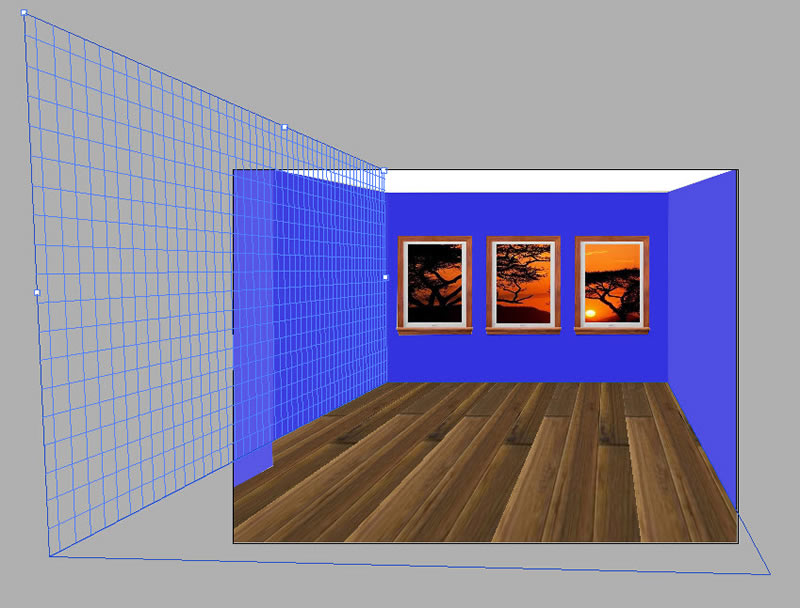
- Choose Filter > Vanishing Points from the menu and in the dialog box that appears, use the Zoom Tool to show the artboard and the canvas.
- Click the Create Plane Tool and drawn a plane starting from the left corner, then the right corner and then two other points outside of the image so they match the perspective of the room. You may need to pull on one of the two points outside of the image until the plane turn blue.
- Select CTRL/CMD + V to paste the wood floor that was copied to the clipboard earlier and drag it to the carpet area and align it with the back left corner. Then, press CTRL/CMD+T and pull the center handle to stretch the wood flooring to the front of the room outside of the canvas area. Then, pull in the center handle on the right side to reduce the side of the wood so it would not look so pixelated.
- CHECK POINT: You should see that the wood flooring cut across the wall instead of going under it. This will be resolved in the upcoming steps.
- Press the Cancel button in the VP dialog box and press CTRL/CMD + click the carpet Alpha Channel in the Channels Panel and then switch back to the Layers Panel.
- Select Filter > Vanishing Point... again, redo the plane again, and then press CTRL/CMD + V to paste the clipboard copy again.
NOTE: This time you will not see the image so just drag the selection to the carpet to see it and align it to the back left corner again. - Then, press CTRL/CMD + T again and pull the center handler that is away from the wall and stretch it outside of the image.
NOTE: Notice this time that the wood flooring went under the wall as it should have. - Hold down the ALT key and drag out a duplicate copy and align it with the edge of the original image. Repeat to cover the entire floor. Then, click the OK button to commit the change to the carpet layer. Press CTRL/CMD + D key to deselect the selection.
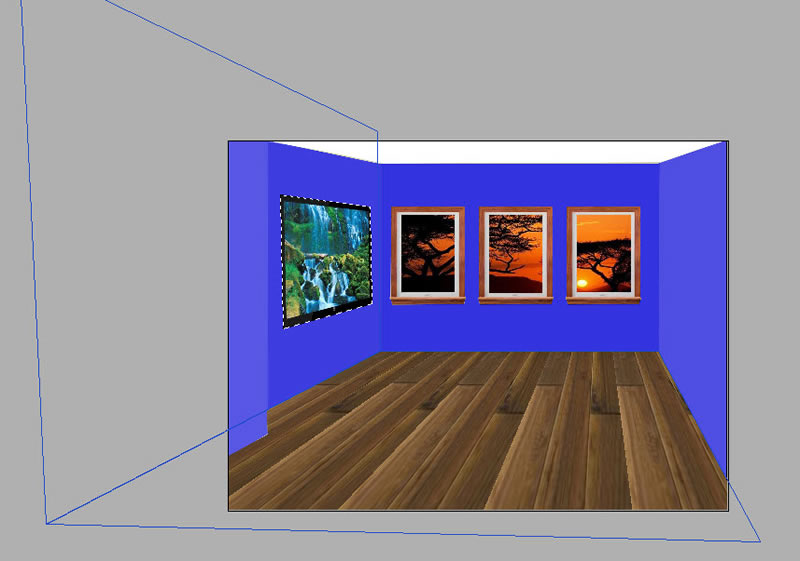
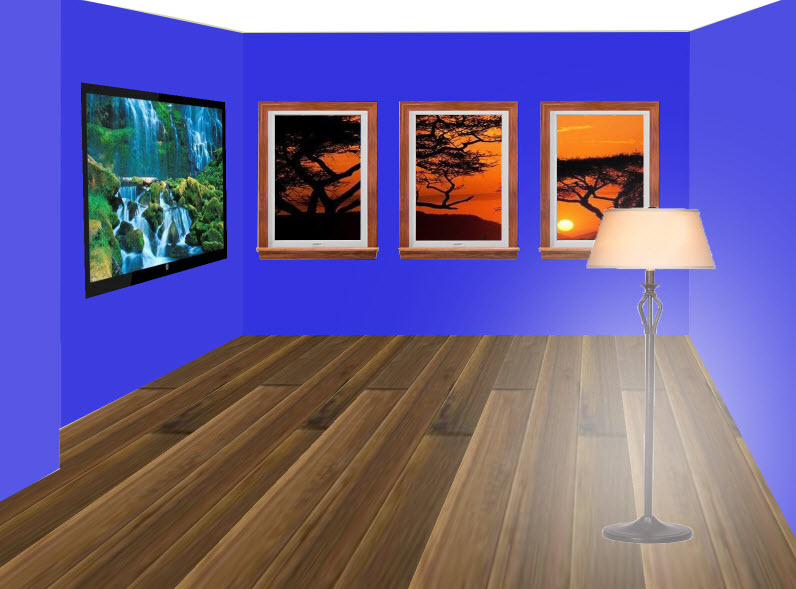
Add TV to Wall
- Create a new blank layer in the Layers panel and name it TV.
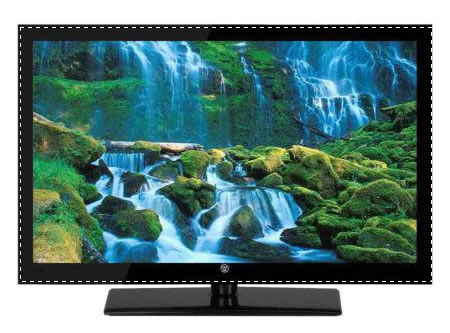
- Open the LED_TV.jpg file from the exercise folder.
- Using the Rectangular Marquee Selection Tool, select the TV without the stand and then Copy (CTRL/CMD + C) the selection to the clipboard.
- Switch back to the originalroom.jpg tab.
- Select Filter > Vanishing Point... from the menu and then while holding the CTRL/CMD key pull up the center handle on the bottom left side of the plane and pull up another plane against the real wall. Then, type 89 into the Angle field at the top of the dialog box or use the slider
- Press CTRL/CMD + V to paste in the content from the clipboard and then move the TV along the wall.
- Press CTRL/CMD + T to create transformation handles and pull on them to fit the TV nicely against the wall and then click the OK button to commit the changes.
Add Lamp To Room
- Create a new layer and name it lamp.
- Open the lamp.jpg file from the exercise folder.
- Click the Magic Wand Tool and set the Tolerance to 50 in the Options panel and then click any white area of the image to create a selection.
- Choose Select > Inverse from the menu to inverse the selection and the press CTRL/CMD + C to copy the selection to the clipboard.
- Switch back to the originalroom.jpg tab and then press CTRL/CMD + V to paste the selection.
- Press CTRL/CMD + T and use the selection handles to resize the lamp and press Enter key to commit the transformation.
- Use the Move Tool to move the lamp wherever you want within the scene.
BONUS: Add Light to Lamp
- Create a new layer and name it lamp light.
- Using the Pen Tool draw a path that will represent the light from the lamp (See example below).

- Right-click inside the path and select Make Selection... from menu, fill the selection with white, and then deselect the selection (CTRL/CMD + D).
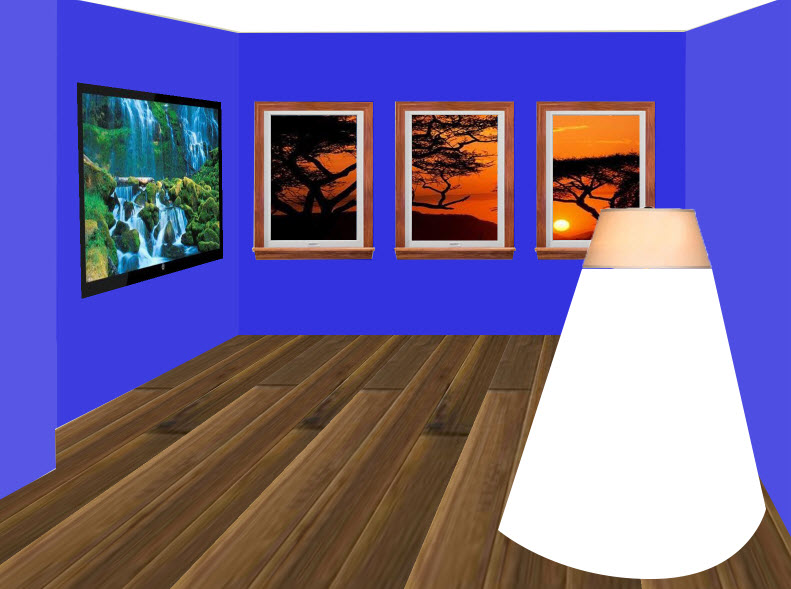
- Select Filter > Convert For Smart Filters and then press the OK button.
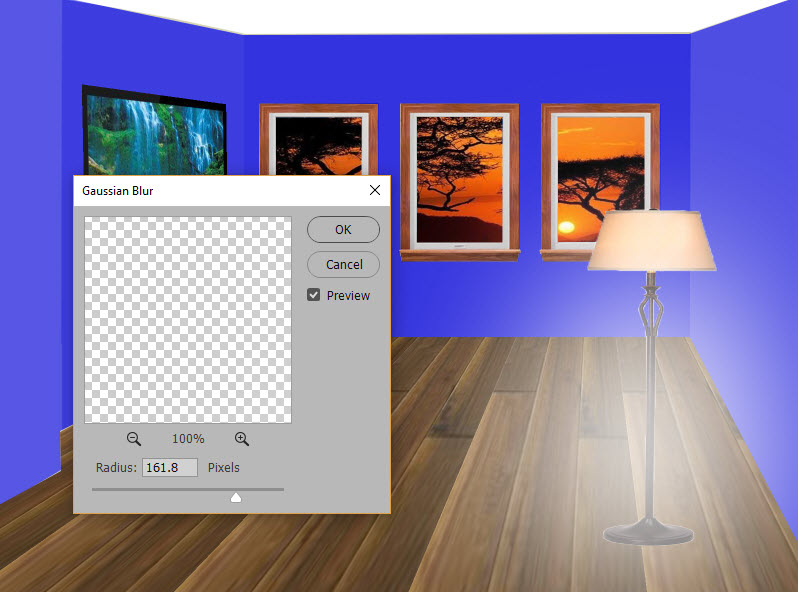
- Select Filter > Blur > Gaussian Blur... and adjust the slider to blur the light (See example below).
- Optionally, you could lessen the Gaussian Blur by double-clicking on the Gaussian Blur effect in the Layer panel and change the value.
- Optionally, you can adjust the Opacity value at the top of the Layers Panel to you liking.
- Add whatever objects including 3D objects you want to the room using the techniques that you just learned or that you already know.