OPTION 2: PhoneGap Desktop
As an alternative to using PhoneGap Build or PhoneGap CLI (next option), you can use the PhoneGap Desktop app to create a mobile app. This is for users who prefer to use a visual interface instead a Command Line Interface (CLI). Another advantage of using this option is that it will automatically create a default config.xml file and assets that you can updated with your own data.
PHASE 1: Create Web Site
Create or use an existing responsiveweb site using standard HTML5, CSS3, and any JavaScript framework (Bootstrap, jQuery Mobile, AngularJS)
PHASE 2: Install PhoneGap Desktop
First, choose one of two OS installation options below:
Window Installation
- Download the latest version of the PhoneGap Desktop Installer.
NOTE: If you cannot run the Installer, download the zip file for the latest release and follow the instructions in the README and INSTALL files within the downloaded zip file.
- Double-click the installer icon and follow the prompts and buttons to install the PhoneGap Desktop app.
Mac Installation
- Download the latest version of the Mac OS X Installer.
- Double-click the installer icon to run the installer and accept the license agreement.
- Drag and drop the application into the Applications folder on your Mac to install the PhoneGap Desktop app.
PHASE 3: Install PhoneGap Developer App (Optional)
The PhoneGap Developer App can be used to preview and test PhoneGap mobile apps you create across multiple platforms without additional SDK setup. It provides access to PhoneGap core API without having to install any plugins or compile anything locally.
- Download PhoneGap Developer App for Android on your mobile device.
- It will be used later once an app is created.
PHASE 4: Create Stub App
Now that we have the PhoneGap Desktop app installed, let’s create a stub app.
- Create a folder where you want your mobile app to be created (e.g., Desktop/MyApps)
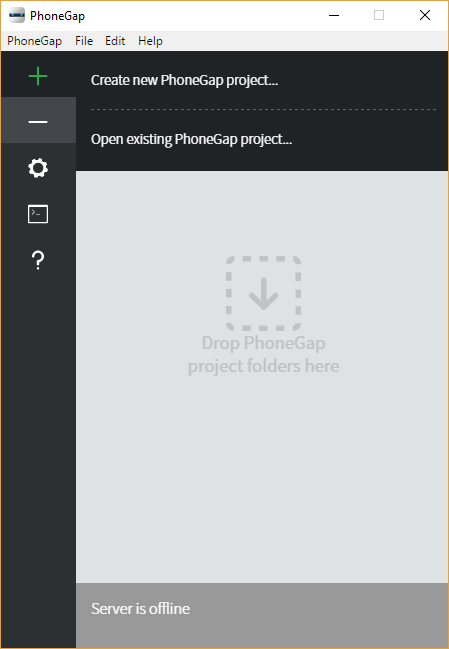
- Open the PhoneGap Desktop app, click the plus sign (+), and then select the Create new PhoneGap project… from the menu.
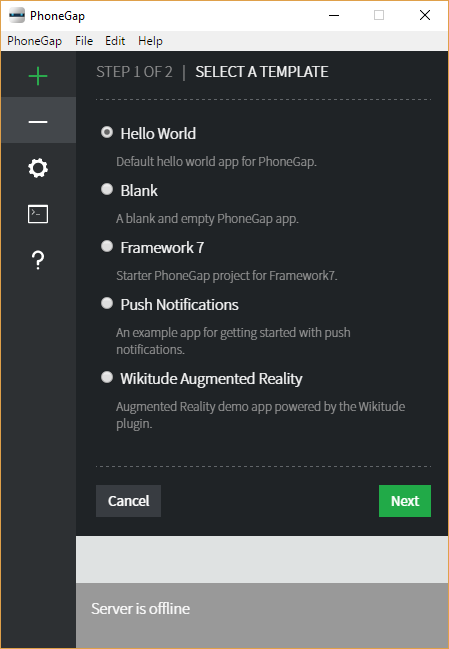
- You are prompted in STEP 1 of 2 to select a template. For this demo, select the Hello World radio button to select that template and then click the Next button.
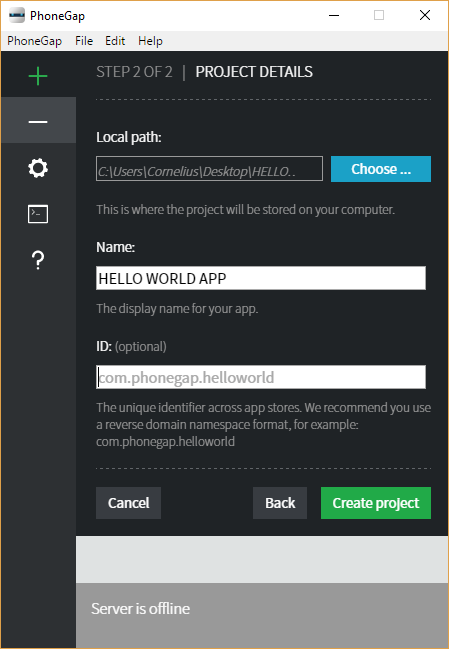
- In STEP 2 OF 2 of the template:
- Click the Choose… button and select the folder where you want the app assets to be saved and then click the Select Folder button.
- Give the app a name in the Name: text field (e.g., HELLO WORLD APP).
- Give the app an optional ID in the ID text field (e.g., com.phonegap.helloworld)>
NOTE: It is common to use the reversed domain naming convention for an app name that will be used to create a UNIQUE app name. The ID field is known as the package identifier for Android and the bundle identifier for iOS.
- Click the Create project button.
- CHECK POINT: You will be presented with the following screen:
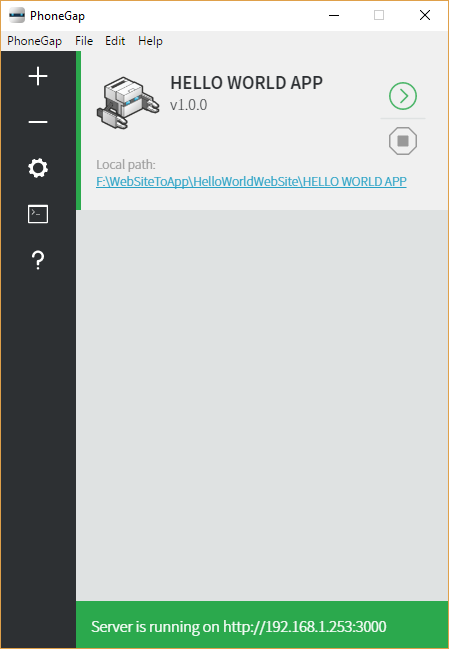
NOTE: PhoneGap Desktop will automatically start a small web server to host your project and returns a server IP address and server port number that you can then enter into the PhoneGap Developer app running on your mobile device or in your desktop browser. You can also manually start the project that is inactive by clicking the green play (>) button.
The advantage of using your desktop browser it that it can speed up the initial development process if you are using frameworks like Angular or React where there are tools to perform debugging before moving your app to a device. Recently, PhoneGap began supporting the browser platform as a target automatically to help you test with the deviceready event and Apache Cordova core plugins more easily in an environment you're already familiar with.
CAUTION: You phone and the mobile device need to be connected to the SAME NETWORK for the PhoneGap App to work.
- (OPTIONAL) Open the PhoneGap Developer app on your mobile device that you downloaded earlier and enter the IP address and the port number at the bottom of the PhoneGap Desktop app (e.g., http://192.168.253:3000) into the Server Address text field and then click the Connect button to preview the app.
NOTE: The current version of this app does not always work…
- Click the Local path link to open the files in the File Explorer to examine the folders and files that it created.
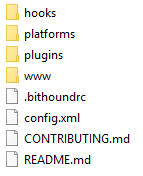
NOTE: The advantage of using the PhoneGap Desktop app is that it will AUTOMATICALLY create the following default file and folders for you:
- Platforms folder with platform files already created
- Plugins folder with several default plugins
- Config.xml file
- CHECK POINT: Click the www folder to examine its content. Except for the spec folder, if you click any of these folders, you will see for the most part that the PhoneGap Desktop app created standard web content.
- CHECK POINT: Click the index.html file. You will see the default app (e.g., HELLO WORLD) opens in your default browser.
PHASE 5: Add Web Site
Now that we have the default content working, let’s replace it with our own web content in the www folder.
- Create or use an existing web site content (using standard HTML5, CSS3 and optionally any JavaScript framework (Bootstrap, jQuery Mobile, AngularJS))
- MOVE your web content to the www folder.
PHASE 6: Convert To App
SEE PHASE 2-6 FROM OPTION 1