Add Content Blocks
Content blocks are akin to <div> tags in HTML. They are created by simply creating rectangles that represent the major regions of your pages. It is a trend to have different color on long pages that represents these content blocks. You can also add different grid sizes on each page.
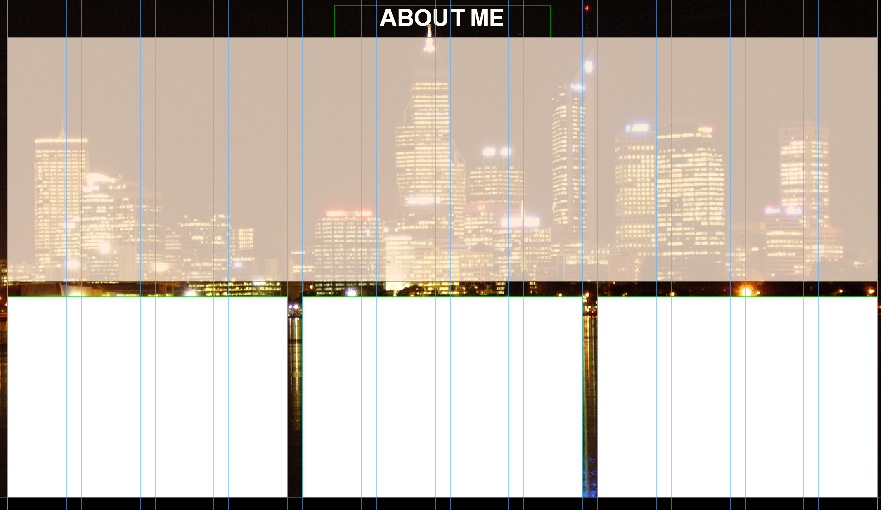
- Open the first page (e.g., About Me) and create rectangles that represent the major regions for that page. In the About Me page, we add a large rectangle at the top.
NOTE: Rectangles can be 100% width of browser or a fixed width. Also, notice that if you draw a rectangle and "bump" against the footer, the footer will move down AUTOMATICALLY to accommodate the LARGER rectangle.
- (Optional) Add a Fill color for each "section" of your page. TIP: Ensure to select a color that works well with the text that will be placed on top of it.
- (Optional) If the background image is something that you want to see through too, change the opacity.
- Repeat the previous steps for all other pages but not the Master templates.
NOTE: If the page is long, you will see the header and menu scroll "out of view" and the footer "come into view." Both of these issues will be resolved when we discuss responsive design later.
- (Optional) If you need to move the rectangle that you drew, you can easily do so by clicking on the Vertical Move icon in the left margin and dragging it up or down.
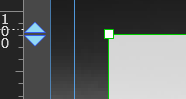
TIP: If more than one rectangle or element is at the same height or below, the Vertical Move Tools will move all of the elements below it. Also, if you double-click on the Vertical Move Tool, it will SELECT all of the content below so that you could copy it or delete it.
- (Optional) Select Pages > Pages Properties... and change the number of columns from 1 to 12 and then click the OK button. Then draw three equally spaced rectangles along the grid.